If you're not up to this point yet, you can find our previous Betty Dress Sewalong posts here:
- Announcement
- Measuring and Cutting
- Assembling the Bodice
- Sewing the Skirt
- Attaching the Bodice to the Skirt
Now, with right sides together once again, pin the centre back seams of the skirt together.

Starting at the notch quarter of the way down the back, sew the seam right down to the hem. Remember the seam allowance is 1.5cm, and don't forget to backstitch at the beginning and end.
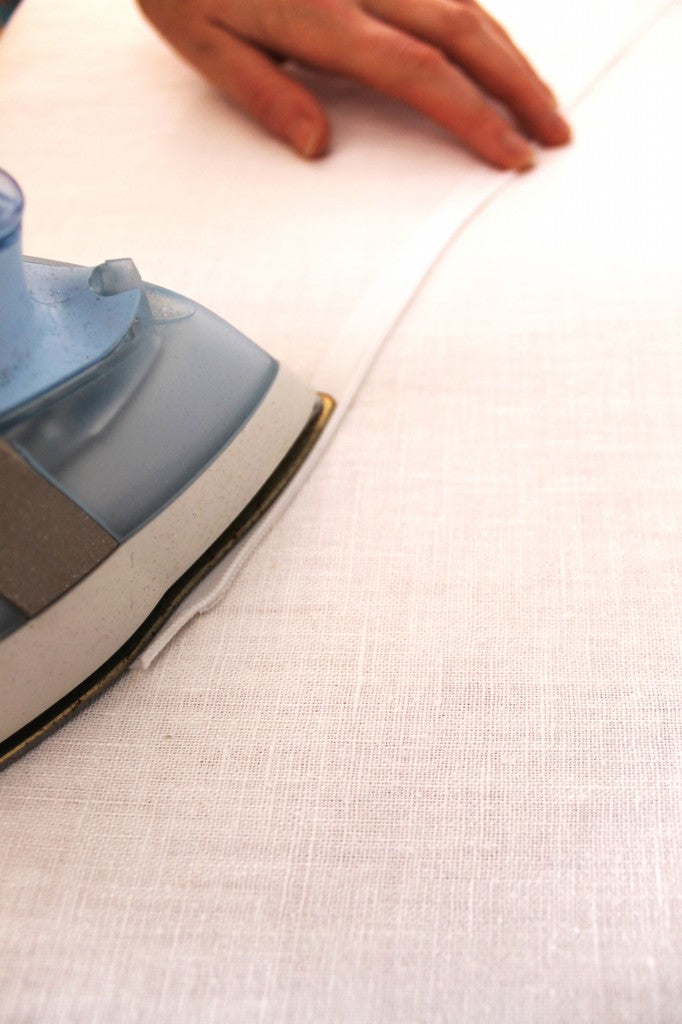
Before we start pinning it's a good idea with invisible zips to give them a gentle iron to uncurl the teeth away from the tape. Keep it on a low heat so you don't melt the zip teeth together. Disaster!

Place the zip along the centre back opening of the dress with the right side of the zip facing the right side of the dress. Before pinning, make sure that the teeth at the top of the zip are 1.5cm away from the neckline to account for seam allowance.

Pin the zip in place all the way down its length, making sure the teeth are 1.5cm away from the raw edge.

At Sew Over It we like to tack invisible zips in place with a standard zip foot first. Set your stitch length to 4mm, and because this is only a tacking stitch you don't need to back stitch at the beginning and end. You can also hand tack it in place instead if you prefer. Once it's safely secure in place it's time to insert the zip properly, using our best friend, the invisible zip foot.
 We're going to sew the left hand side first. Set your stitch length back to your normal 2.5mm and let's get going. Starting at the neckline, and remembering to backstitch at the beginning, sew all the way down the zip as far as you can until you reach the zip pull. Backstitch here. Don't worry that you're not at the end of the zip tape, we'll get to that.
Now let's insert the other side of the zip. To get a lovely finish here it's important to line up the waist seam on either side of the zip. It can be quite tricky, so we're going to show your our favourite zip tip.

Fasten the zip up, and on the unattached side, cut a little snip in the tape directly at the waist seam. This then acts as a notch for you to match with the waist seam on the other side of the dress. It only works if the notch is cut accurately, so take care.
Undo the zip and, lining up the notch with the waist seam, pin, tack and sew the zip to the right hand side of the centre back as we did with the left side.
Once you have done that we need to sew up the little hole we have at the bottom of the zip.

With your standard zip foot back on your machine, sew up the little gap between the bottom of the zip stitching and the start of the centre back seam stitching. The zip foot will butt right up against the zip so you can get in close to the stitching. We also moved the needle to the furthest right position, as this helps get even closer.

And that's it! You now have a flawlessly inserted zip, with a beautifully lined up waist seam.
As always if you need any help just leave us a comment below, or head over to our Facebook and Twitter pages.