So, first thing's first, let's find our body measurements. We need bust and waist measurements for the Betty Dress - because Betty has a full circle skirt, your hip measurement isn't so important. The dress will skim over them - no tricky fitting to worry about here.
Firstly let's work out what size you need to cut. Make sure you're not wearing anything bulky - for most accurate results you might like to do this step in just your underwear. For this step it's important that you wear the same bra you intend to wear with your dress once it's done.
When holding the tape measure around yourself you want it to be fairly snug against your body. Holding it too tight or too loose will give you an inaccurate measurement. Aim to fit a couple of fingers between your body and the tape, but nothing more. And we know this sounds obvious, but don't be tempted to hold in your tummy - after all the effort you've put into making the dress, you don't want to end up with something that you can't wear.
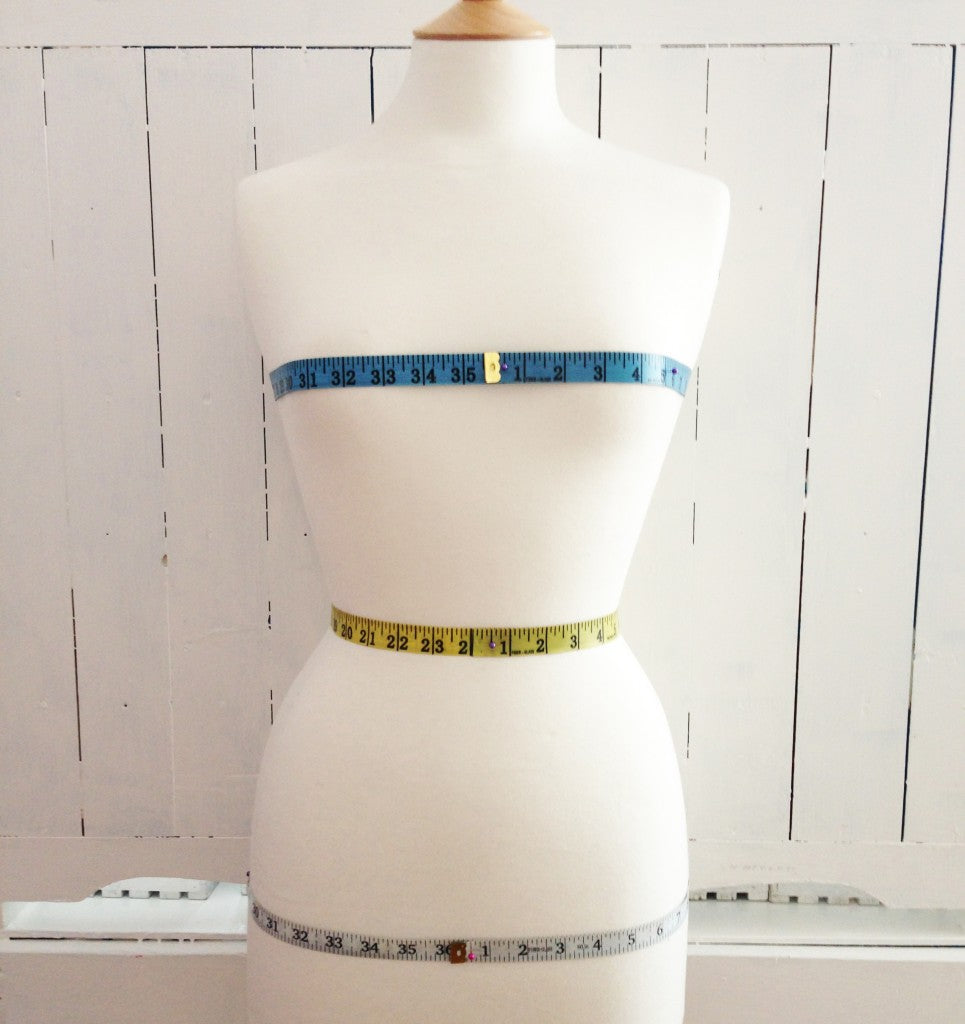 To find your bust measurement hold the tape measure around the fullest part of your bust - usually this is around the nipples. Make sure the tape measure is horizontal all the way around your back. If it dips down or is up too high your measurement will be wrong and you could end up cutting a bigger size than you need to. We recommend standing next to a mirror so you can check.
Your waist is usually the smallest part of your torso, and the point from which you can bend sideways. Hold the tape measure around yourself, have a little wiggle, and it should find its way into the right spot. Remember, no breathing in!
And as it's a circle skirt you can skip your hip measurement. Easy!
Now that we have our measurements it's time to cut out the pattern. Whether to cut into the tissue pattern or to trace off your size onto another sheet of paper divides a lot of opinion in the sewing world. Because we like to get the boring stuff out of the way first, we're big fans of cutting straight into the pattern - gasp! However, if you think you might like to make this dress for someone else and they're a different size from you, we do think it's a good idea to trace the pattern at this point. If you'd like some help with this you can refer to our Measuring, Tracing and Cutting post we did for the 1940's Tea Dress Sewalong.
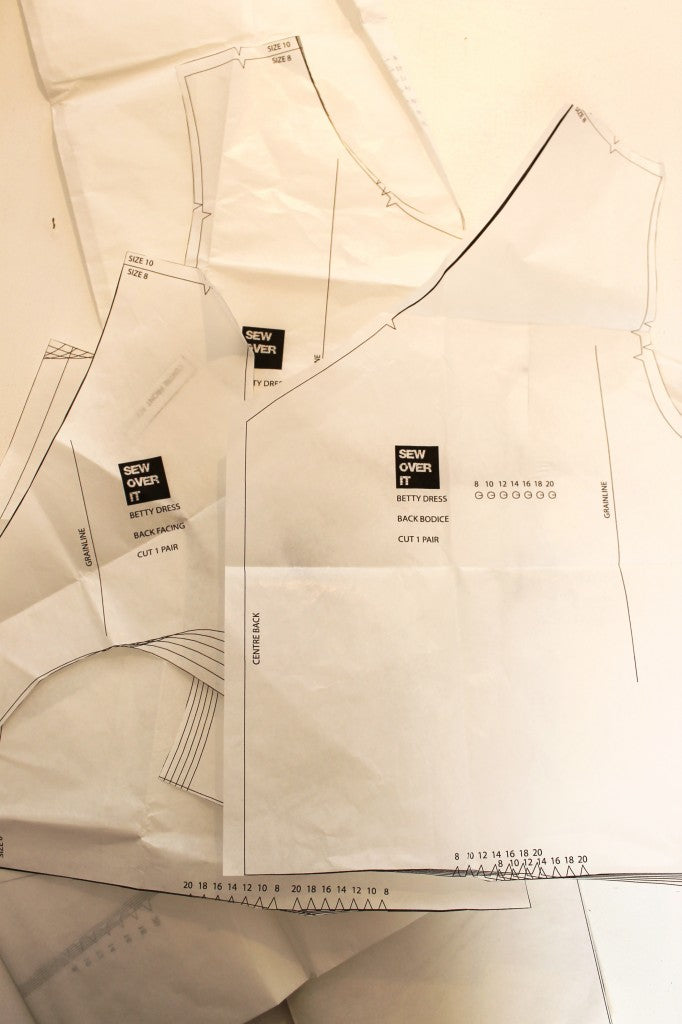 Once you have all your pieces cut, it's time to lay them all out on the fabric.
But first thing's first: have you prewashed your fabric? Prewashing is a good habit to get into - once you've brought your fabric home, get it straight in the washing machine and let it dry fully before giving it a good press. This way you will be sure that it has done all its shrinking before you start sewing with it. We're sure all sewers have experienced the horror of wearing something once, washing it, only to find it has shrunk in the wash and no longer fits. So disappointing, people! Learn from our mistakes. Prewash, prewash prewash!
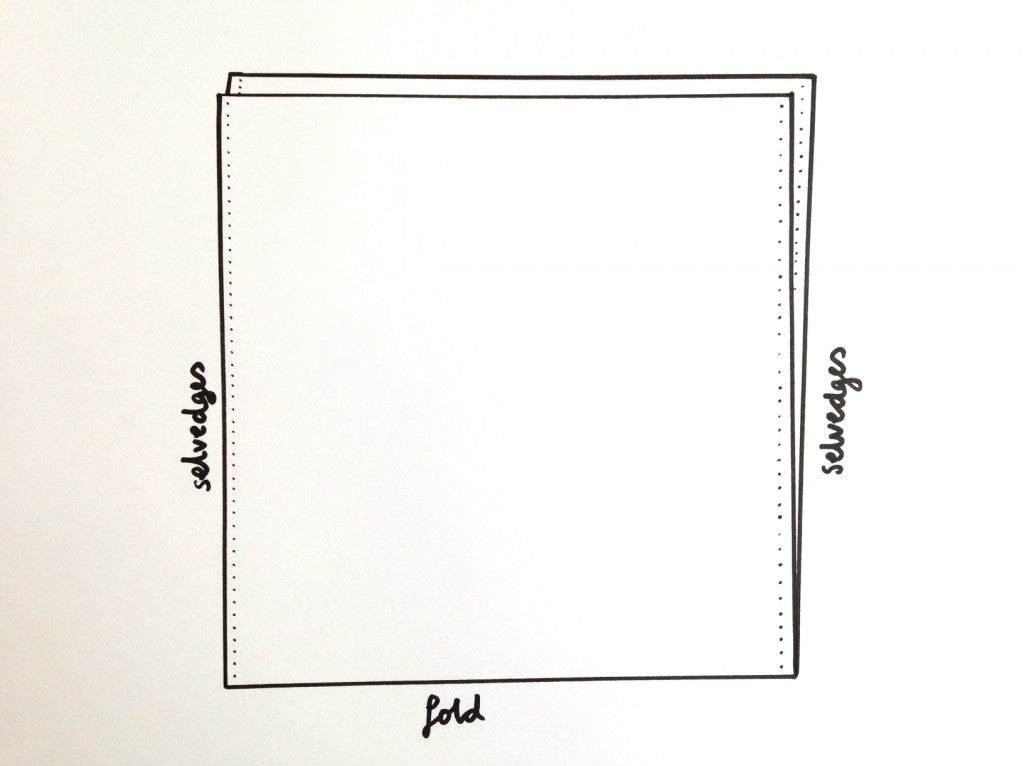
Because the Betty Dress has a circle skirt, the skirt pattern pieces are too large to be placed on the fabric in the usual way - where the fabric is folded selvedge to selvedge. So what we're going to do is first fold the fabric selvedge to selvedge for the bodice pieces, and then we'll fold it the other way for the skirt.
For the bodice: Lay out your bodice pieces as close to one end of the fabric as possible. Pin them in place and then cut off the rest of the fabric.
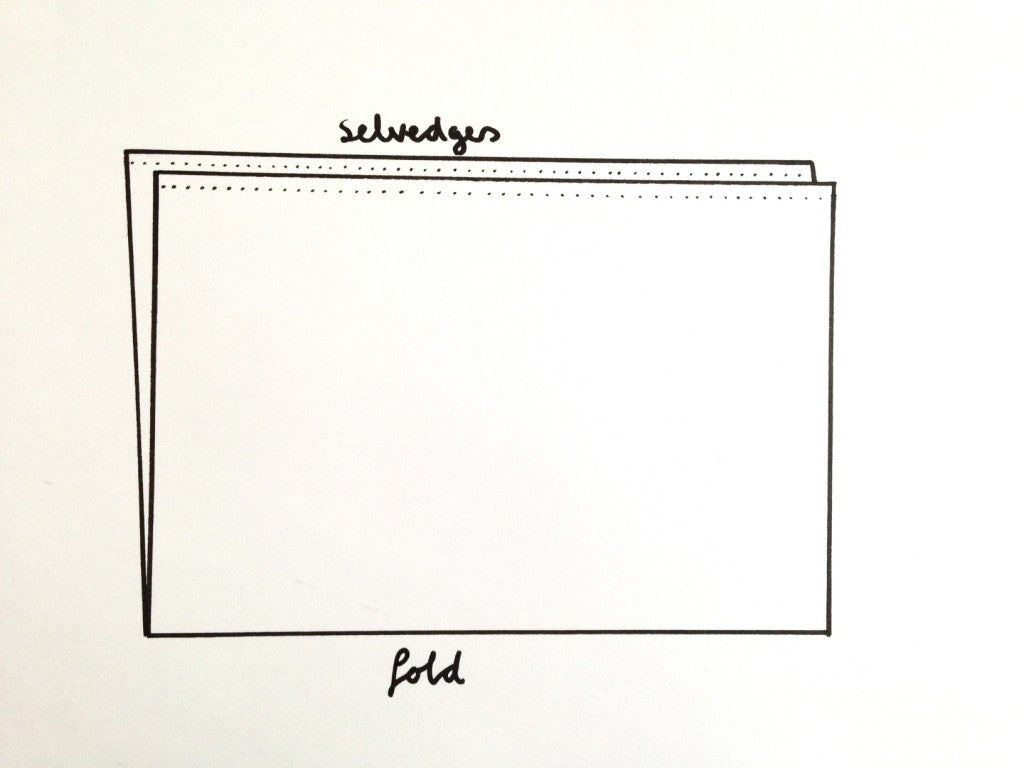
For the skirt: Fold the remaining fabric in half, but this time with the raw sides together. We know it's a bit of a mind-bender and it's not how we usually fold, but this is how we make sure the skirt pieces will fit onto the fabric.
For the Betty Dress you will need a different amount of metreage depending how wide your fabric is. If your fabric is 140cm wide you will need 3m. If it's 115cm wide you'll need 4.5m.
Follow the layplans as listed below, making sure you're looking at the right one for your width of fabric and your dress size.


Whilst you've still got your scissors handy let's snip the notches. Notches are the little triangular marks around the edges of the pattern pieces and they are important because they help you line up the pieces correctly when it comes to sewing them together. We're also snipping notches at the base of all the darts on the bodice pieces.
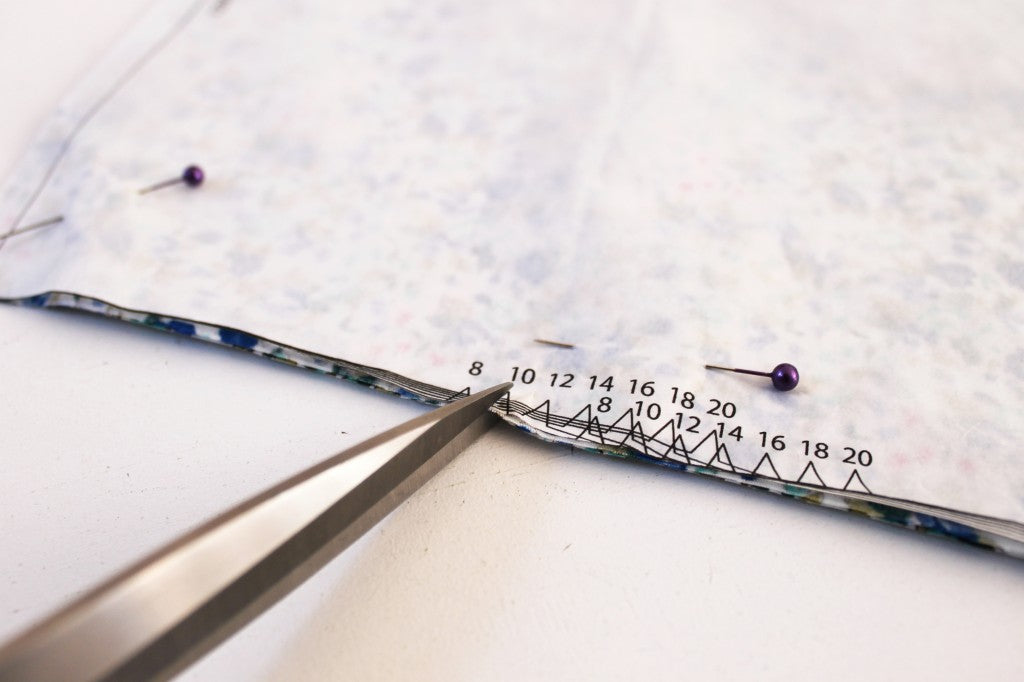 Just snip a little cut down the centre of each triangle - there is no need to cut out the whole triangle. Make sure you don't snip too far into the fabric - the cut should be no longer than 0.5cm. This is important in case you want to take your dress out a little bit once you've sewn them up.
And that's it for today! Next sewing we'll be getting down to the fun stuff: assembling the bodice!
And don't forget, if you get stuck you can leave us a comment below, or get in contact with on our Facebook page or on Twitter.