You can find our previous sewalong posts here:
- Announcement
- Measuring and Cutting
- Assembling the Bodice
- Sewing the Skirt
Now, we've noticed we made a tiny mistake in the instructions at this stage. In attaching the skirt and bodice together, the instructions say to match up the notches with the darts. But confusingly, there are no extra notches on the pattern. Silly us! So we're going to teach you how to find and mark the centre point of the bodice and the centre point of the skirt, and how to match these up.

Starting with the bodice, fold it in half, matching up the base of the darts. Find the centre front by pulling the fabric taut.

Place a pin directly in the fold, then make a tiny snip (no bigger than 0.5cm) where you've placed the pin. This is your centre front notch.

Do the same with the skirt, match up the side seams. Make another little snip at the fold of the fabric.
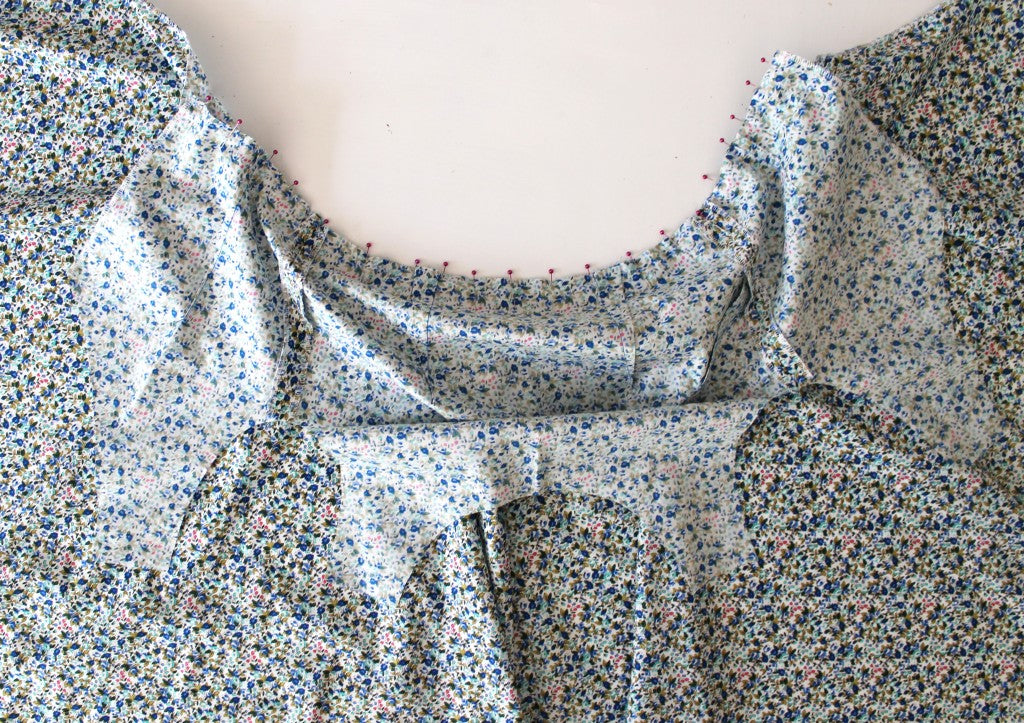
Place the bodice on top of the skirt, right sides together, matching up the centre front notches you've just made. Then match up the side seams, and pin the pieces together.
Once you've pinned it all in place, sew these pieces together.
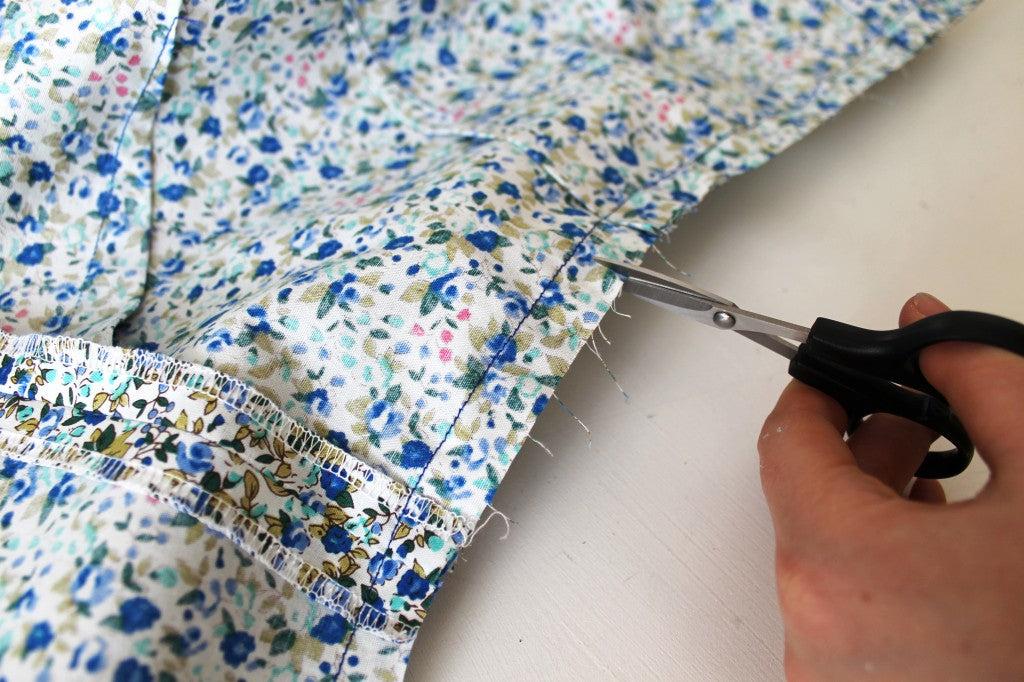
To get the seam sitting flat, we're now going to clip into the curved part of the seam at the seam allowance. This releases tension on the seam, allowing the seam to sit neatly. Use small sharp scissors for this, and be sure not to snip into your line of stitching.

When the seam allowance has been clipped, finish the raw edges using a zigzag stitch or an overlocker.

Press the seam allowance up towards the bodice.
And that's the bodice attached to the skirt! A dress is taking shape. You might like to try your dress on at this point to check the fit. Find someone to pin the centre back seam for you, remembering to use a 1.5cm seam allowance.
Next sewalong - concealed zip feet at the ready...