In this post we're going to show you how to trace sewing patterns!
Now, why would you want to trace sewing patterns? (It takes aaaaages doesn't it??) Well, whereas we're usually rushing into dressmaking project after project and we just snip straight into the printed pattern *gasp!*, there is a lot to be said for tracing them off. You can use the same pattern to make the garment for somebody else, for example. Or if you lose some weight (or put some on!) it can be useful to have the pattern still intact so you don't have to go grading it up or down.
Are you sold? Great! Then here's how to do it...
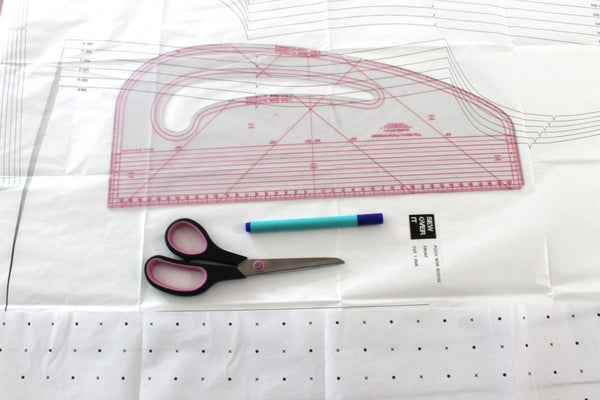
You're going to need:
- a sewing pattern
- tracing paper (we like dot and cross pattern paper)
- a brightly coloured felt tip pen
- a pattern master/ruler
- paper scissors

Draw around your size on the pattern with the felt tip pen. (If you are tracing out multiple copies in different sizes you could always use a different coloured pen for each size.)
You can use the pattern master/ruler to help you or you can just draw it freehand.
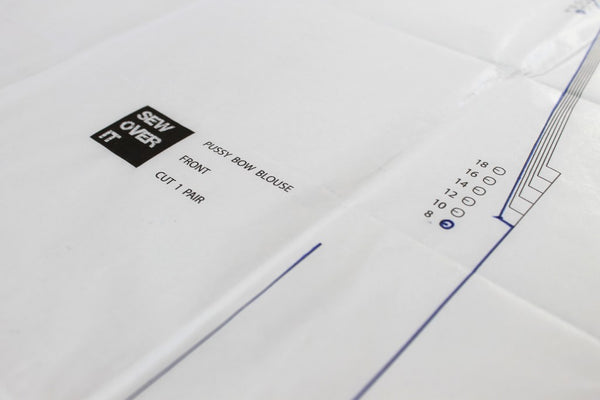
Don't forget to draw around the markings on the inside of the pattern cutting lines - you don't want to miss a notch or dart! And make sure to include the grainline as well.
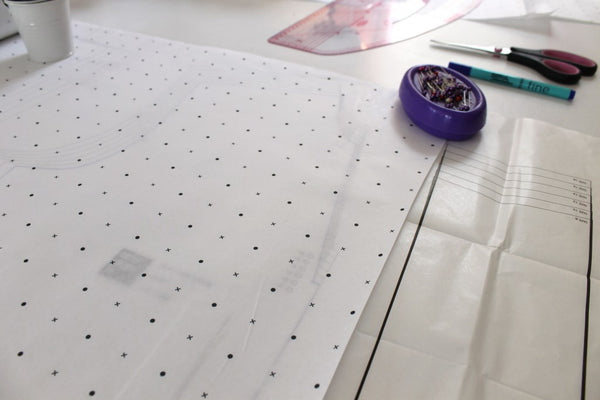
Time to trace the pattern onto the tracing paper! Again, you can either use the pattern master/ruler or draw it out freehand. If you are tracing out different sizes make sure you follow the correct coloured pen for each section you trace!

Once you're happy all the marking have been traced you can then go ahead and cut out your pattern.
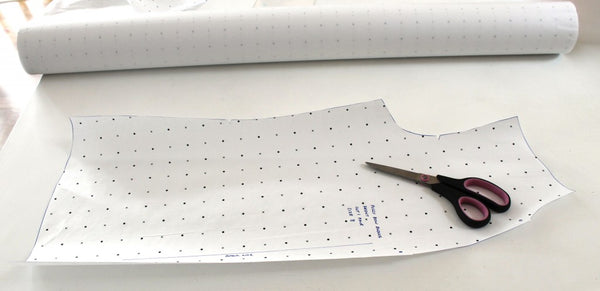
And last but not least, it's always a good idea to write on there the name of the pattern, the pattern piece, the size and how many pieces to cut. You don't want to confuse yourself later. (We've been there!)
Ta-da! You now have a duplicate copy of the pattern ready for use! Time to grab your fabric and get sewing!