How did you get on with your zips? Those waist seams matching? Those zips invisible?
Today we're going to start work on the facing, and then we're going to sew up the shoulders. This is arguably the most complicated bit, so make sure you've got a nice cup of tea on hand, and maybe some biscuits too. We don't want any sugar lulls for this stage!
If you're not ready for this stage yet, you can find the rest of the sewalong posts here:
- Announcement
- Measuring and Cutting
- Assembling the Bodice
- Sewing the Skirt
- Attaching the Bodice to the Skirt
- Inserting the Invisible Zip
A note about interfacing: at this point you may like to interface your facing pieces. We're not massive fans of interfacing in bodices, but if you would like a little bit more structure in the neckline area, you might like to use a lightweight one here.
Okay, let's get going on the side seams of the facing.
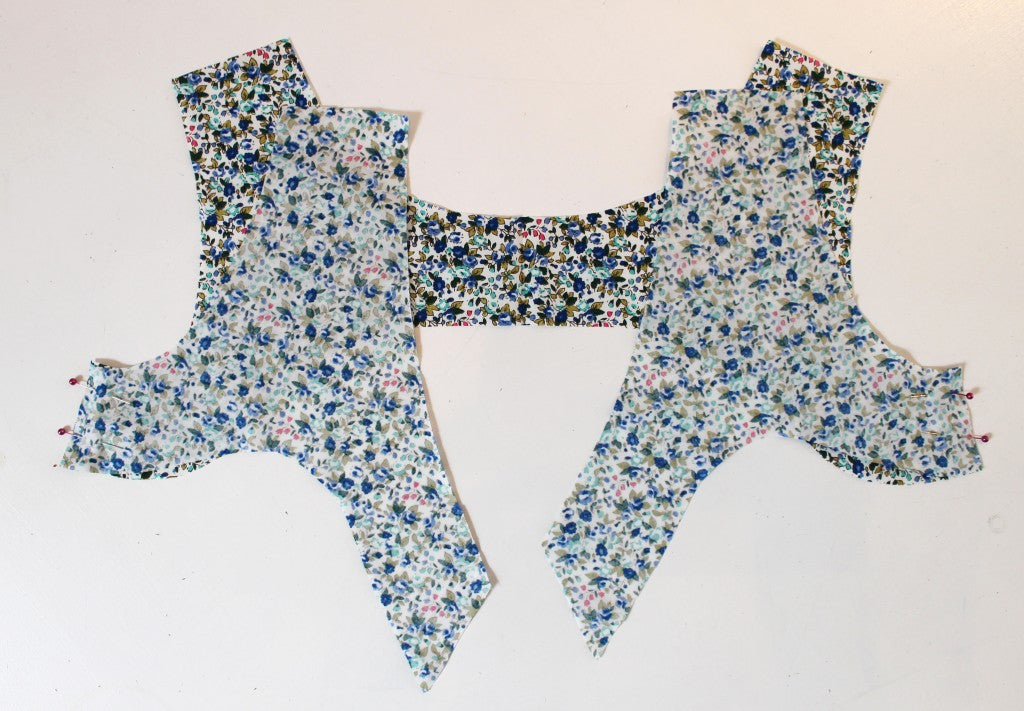
Pin these right sides together, before sewing with a 1.5cm seam allowance. Press the seam open. Repeat for the other side, and then overlock or zigzag along the whole length of the bottom of the facing.
Now, place the whole facing piece right sides together with your Betty Dress.

Match up the side seams and notches and pin the pieces together all the way round. Don't pin those shoulders though - we're not going to sew the last 5cm of the shoulders. Don't worry, it will all make sense in the end!

Following the diagram in the instructions, sew the facing and bodice together.
Remember, leave those shoulders unsewn! Backstitch at the beginning and end of every line of stitching.
So that the facing will lie as flat as possible when you're wearing your dress, we now need to trim the seams down, and clip into the curves around the neckline and armholes. DO NOT trim down the seam around the shoulders. We will need this as seam allowance later on.
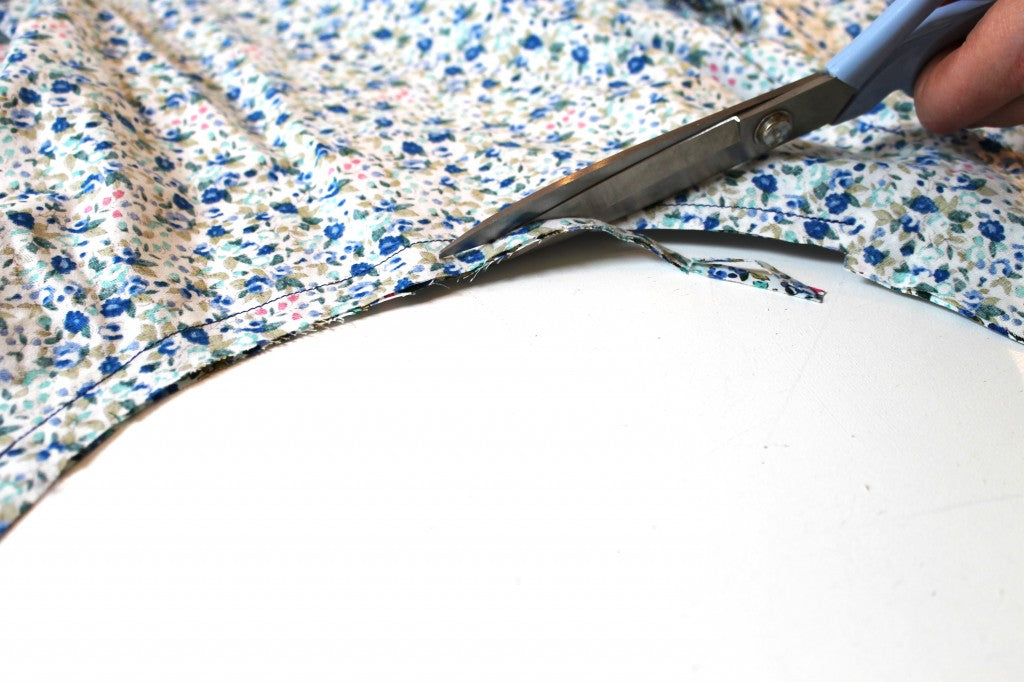
Trim down the seams to about 0.5cm. Remember, only trim where you have sewn. Leave those shoulders alone.

At regular intervals, clip as close to the stitching as you dare without snipping into it. Press the seam allowance up towards the facing. Turn the dress right sides out so the bodice and facing are now wrong sides together.
Now we're going to understitch the facing to the seam allowance. Open the facing out, and making sure the seam allowance is underneath the facing, when you put it under the sewing machine, edgestitch 2mm away from the seam you've already sewn.

You won't be able to understitch all the way around the neckline and armhole, but go as far as you can into the straps.
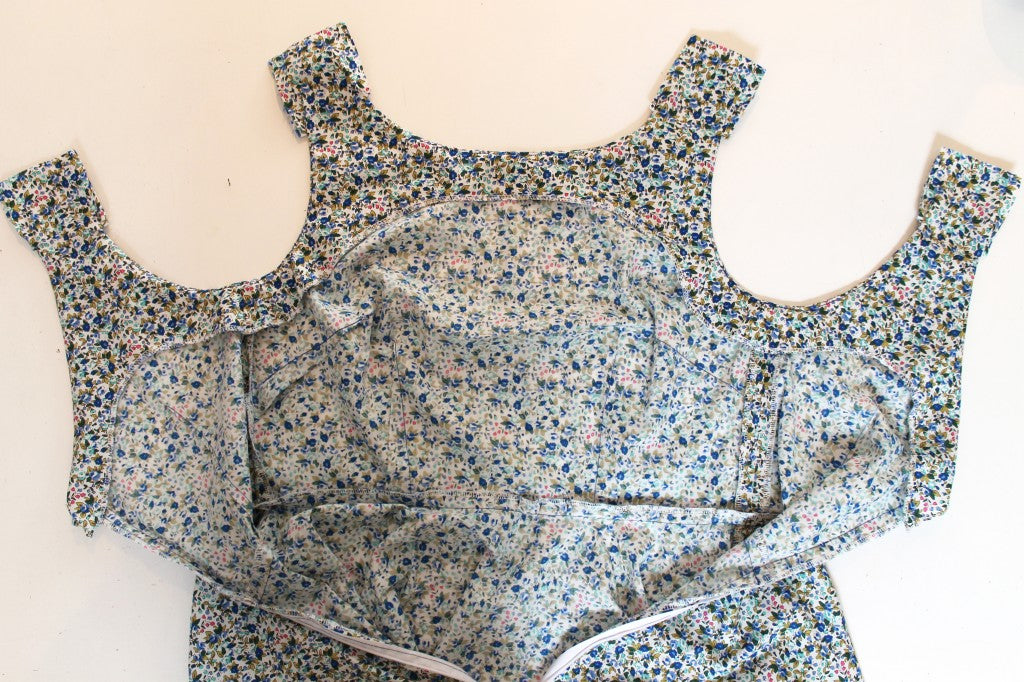
Now let's join the shoulders together.
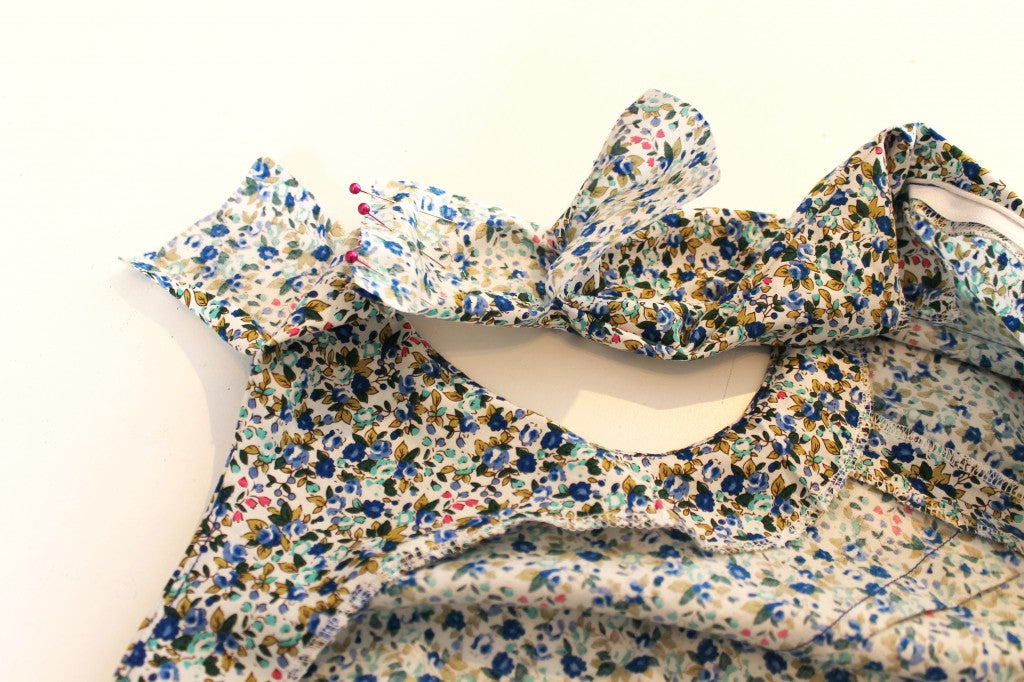
We're going to start with the facing. Take the front and back facing pieces and pin them right sides together. Sew this seam using a 1.5cm seam allowance and then press the seams open.
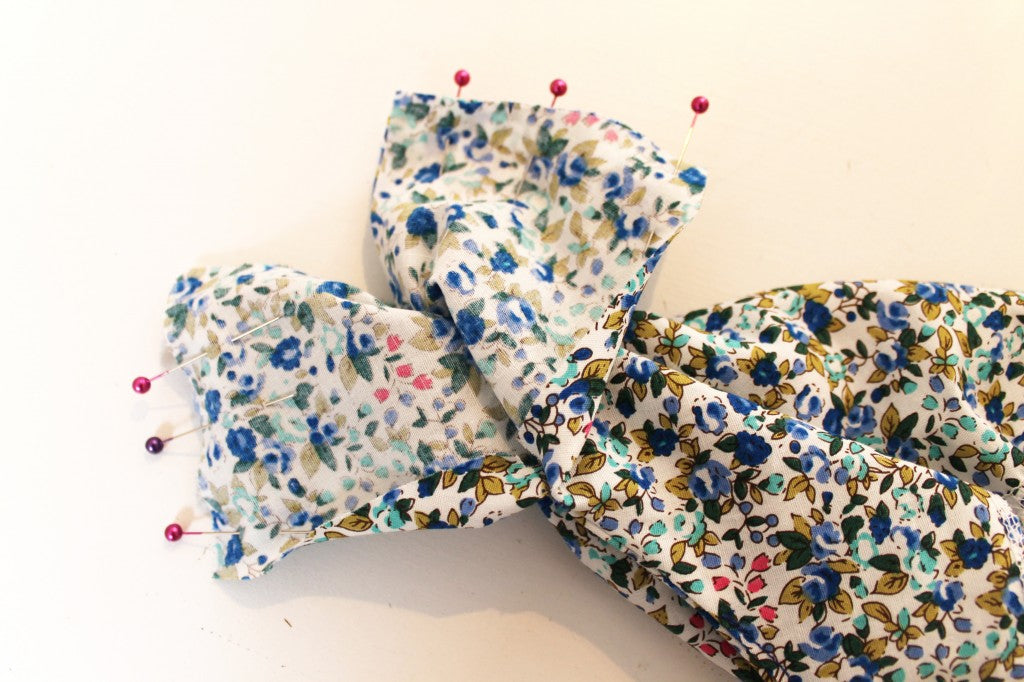
Repeat this step for the front and back of the dress pieces.
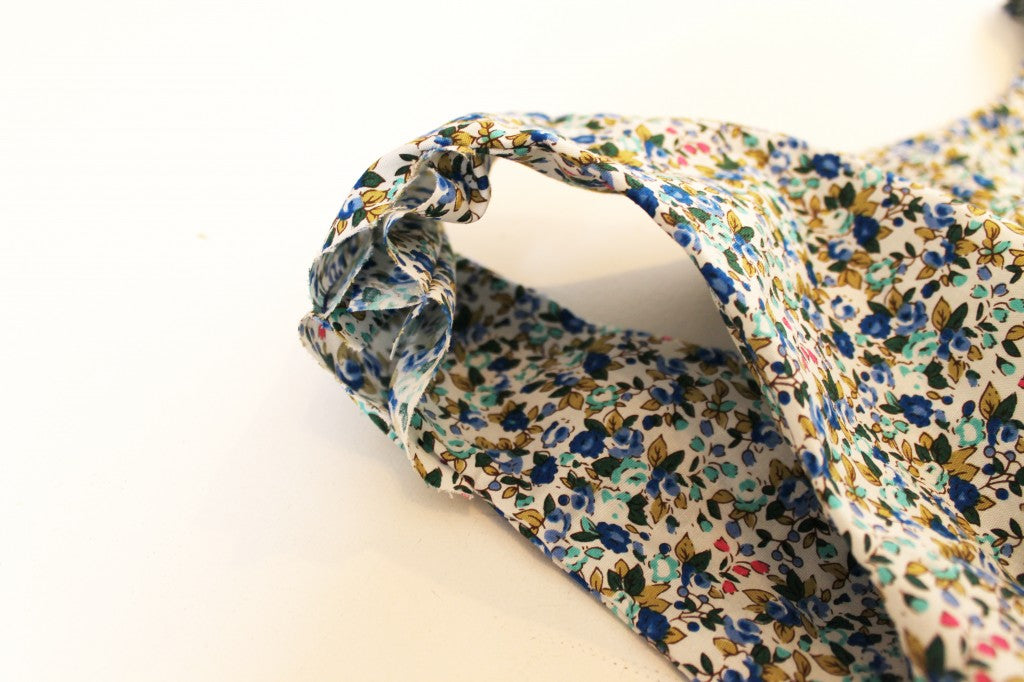
It should look like this, with the shoulder seams sewn but the side seams of the straps still open.
Pull the straps inside out again, through the front of the dress.
The dress fabric and facing should be right sides together. You need to pull it out enough so that you can access the unstitched seams. We're now going to sew these up.

This bit can seem very confusing, but we know you can do it!
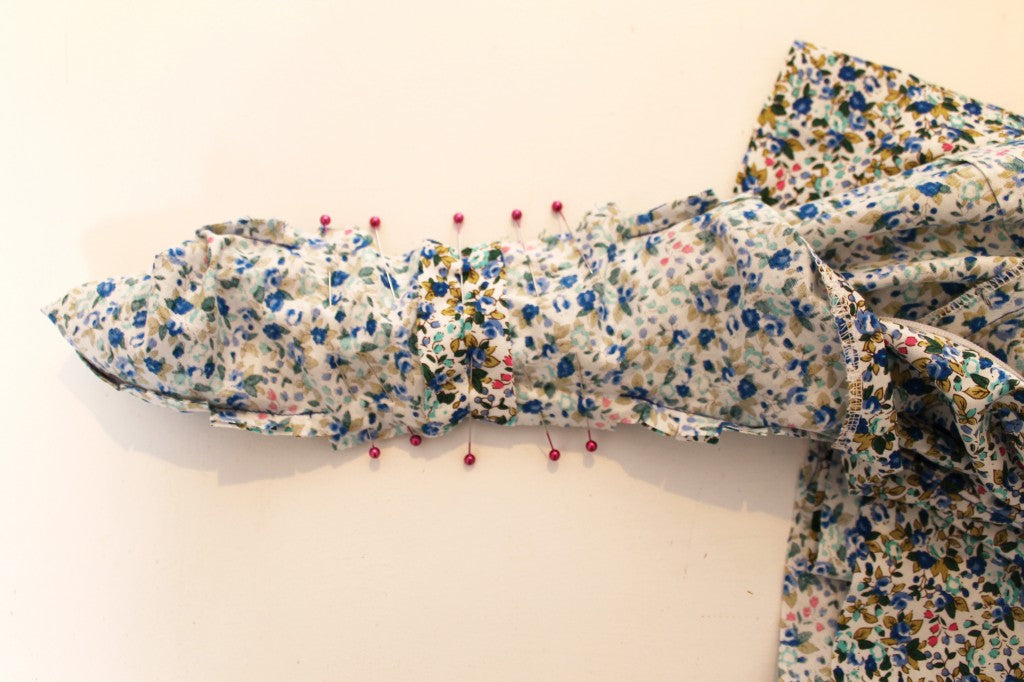
Line up the shoulder seams and pin them together, before pinning the rest of the unsewn seam.
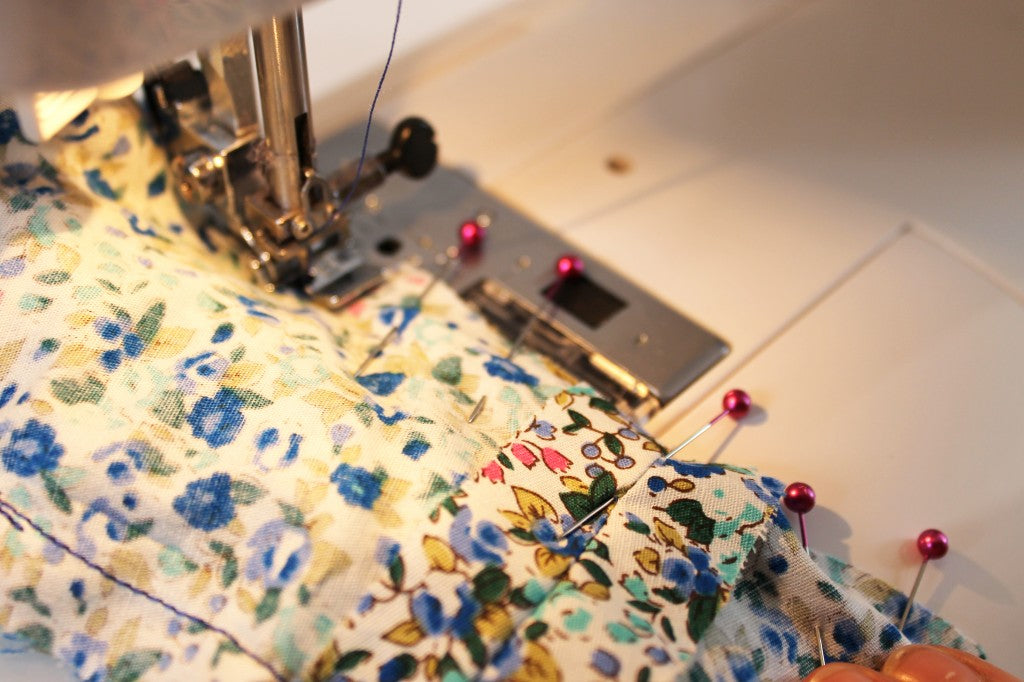
Now we need to sew these seams up. Because the inside of the strap is quite lumpy, we find it easiest to switch to a standard zip foot at this point. The zip foot will help to keep the inside strap fabric out of the way so that it doesn't get caught in the seam.
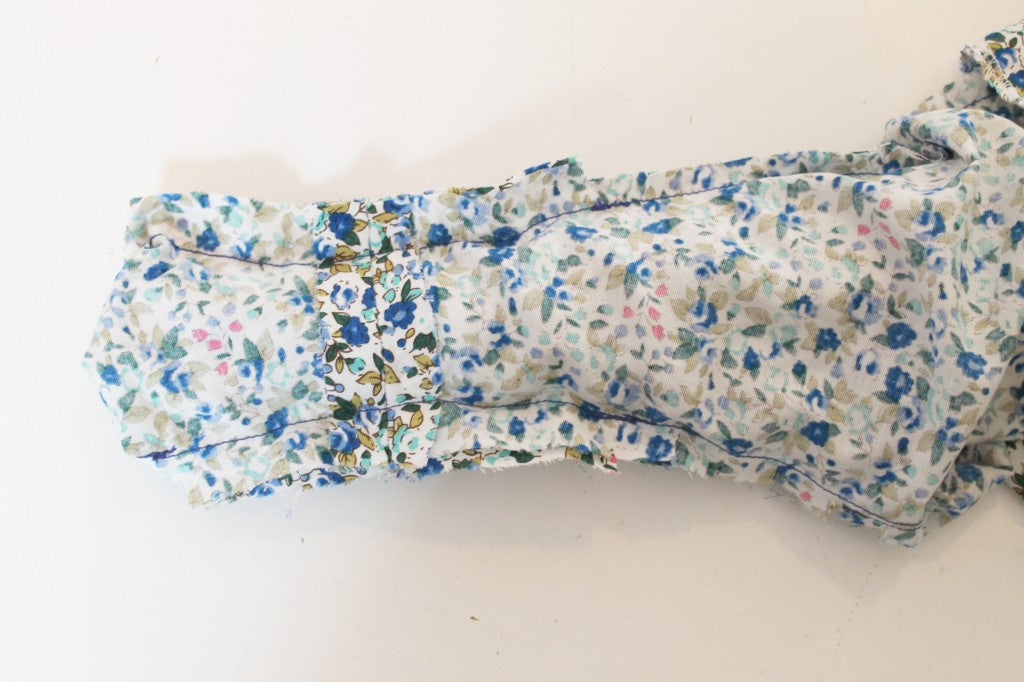
Sew each side of the strap with a 1.5cm seam allowance, backstitching at both ends where you've joined up the lines of stitching. Watch that you don't catch any of the inside strap in your sewing - it's easy to do so take care.
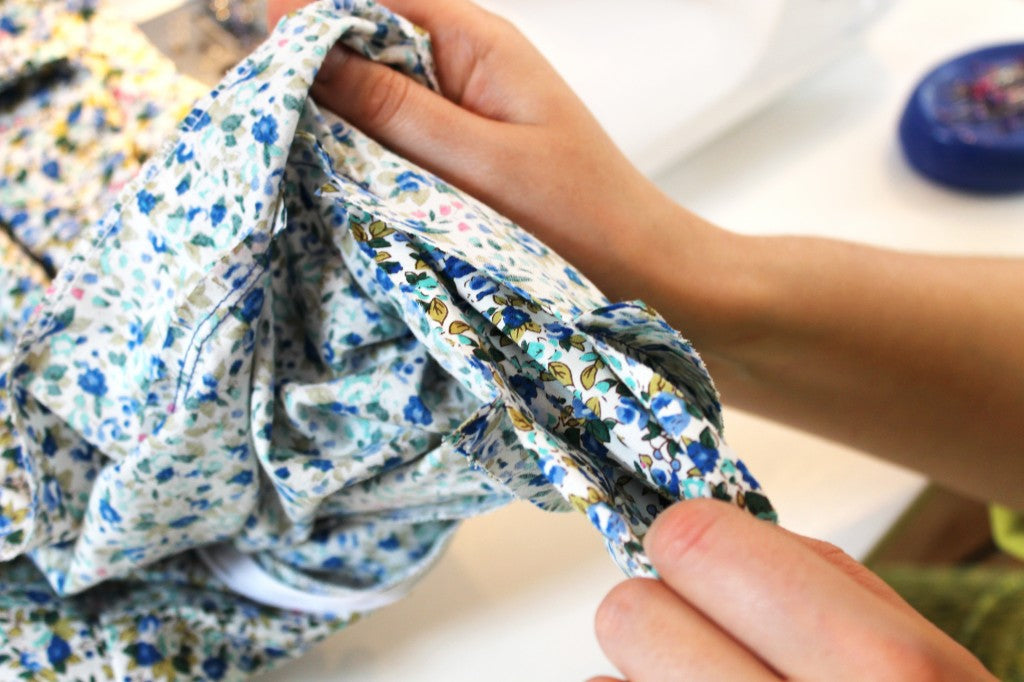
Once you have sewn up both sides of both straps, turn the dress the right way out again and marvel at the feat of engineering you have just accomplished!
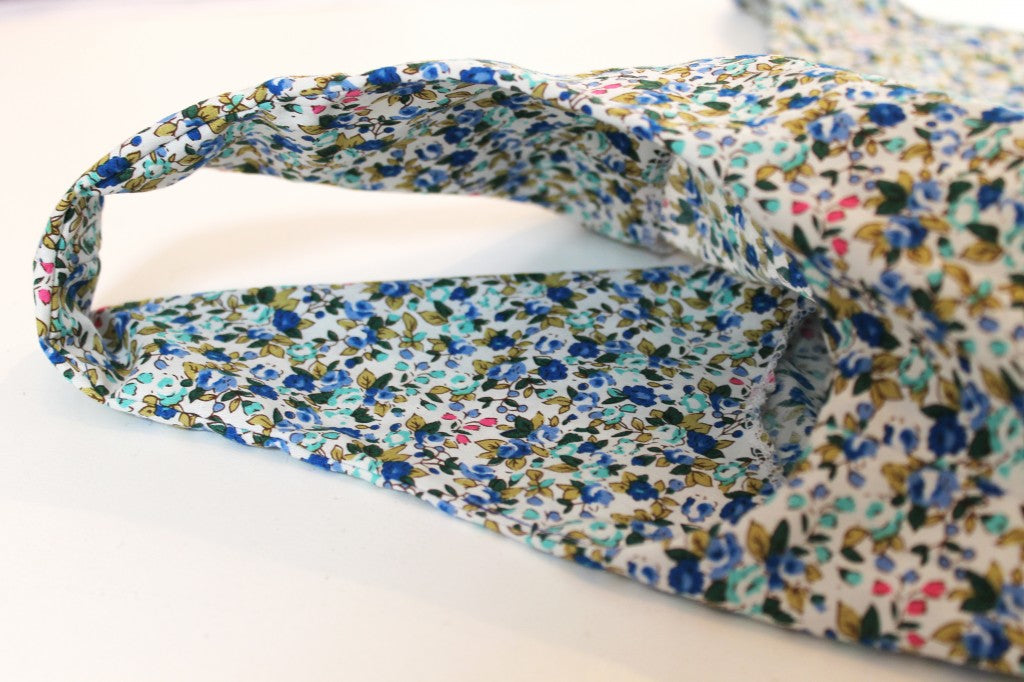
Give the straps a nice press. You don't want the seam to show on the outside of the dress so when you press slightly roll the bodice over the edge so the seam is just on the inside.

The very last thing to do here is to hand tack the facing to the zip tape, and both side seams. This will help keep it in place, so that it doesn't flap around or ride up when you put the dress on. Nothing worse!
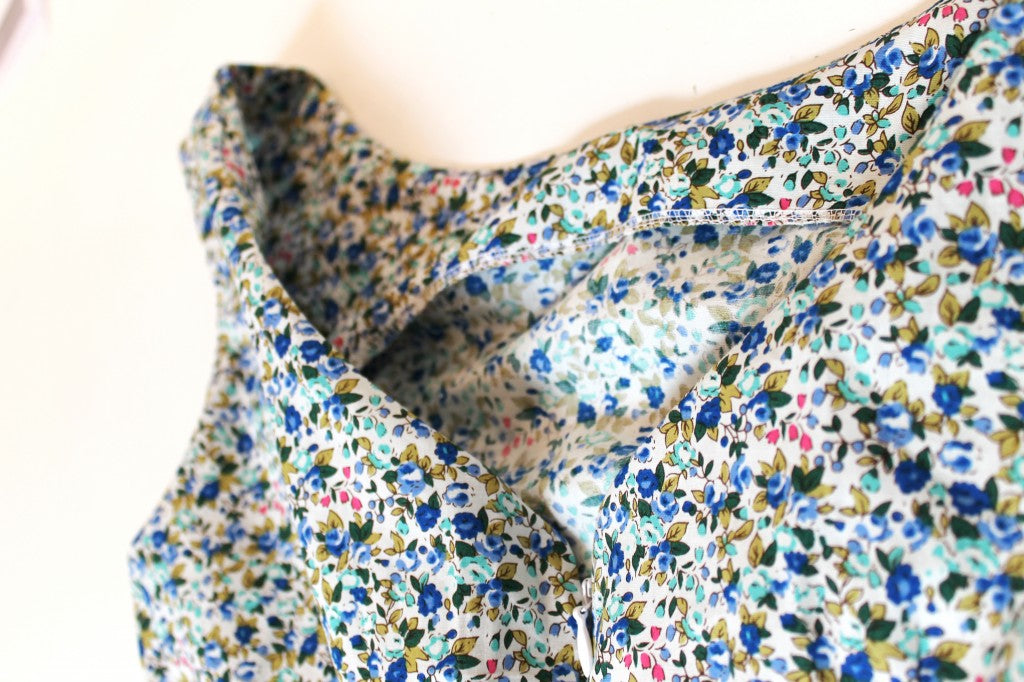
And that's the facing all attached and the shoulders all done. We've only got one more step to go,
If you're stuck on any part of the sewalong don't forget you can leave us a comment below, or get in touch on our Facebook or Twitter pages.