Let’s start with a list. To make your dress you will need:
- fabric for your dress
- 2x 21mm press studs OR buttons
- 1.5m high quality lightweight fusible interfacing
- matching thread
- a selection of sewing supplies: sewing machine, overlocker (optional), fabric scissors or rotary cutter, paper scissors, snips, chalk/fabric marker, hand sewing needles, pins, tracing paper (optional), tape measure, stitch ripper and an iron

Choosing your fabric
The 1940's Wrap Dress is designed to be sewn in a light to medium weight woven fabric with some drape. You'll want to avoid anything too crisp with this pattern, or fabrics that have any stiffness. This is because the dress relies on gathers and pleats for soft shaping across the bust, and anything too crisp will not flow over the body. Similarly for the sleeves, anything with too much structure will leave you unable to move your arms comfortably!
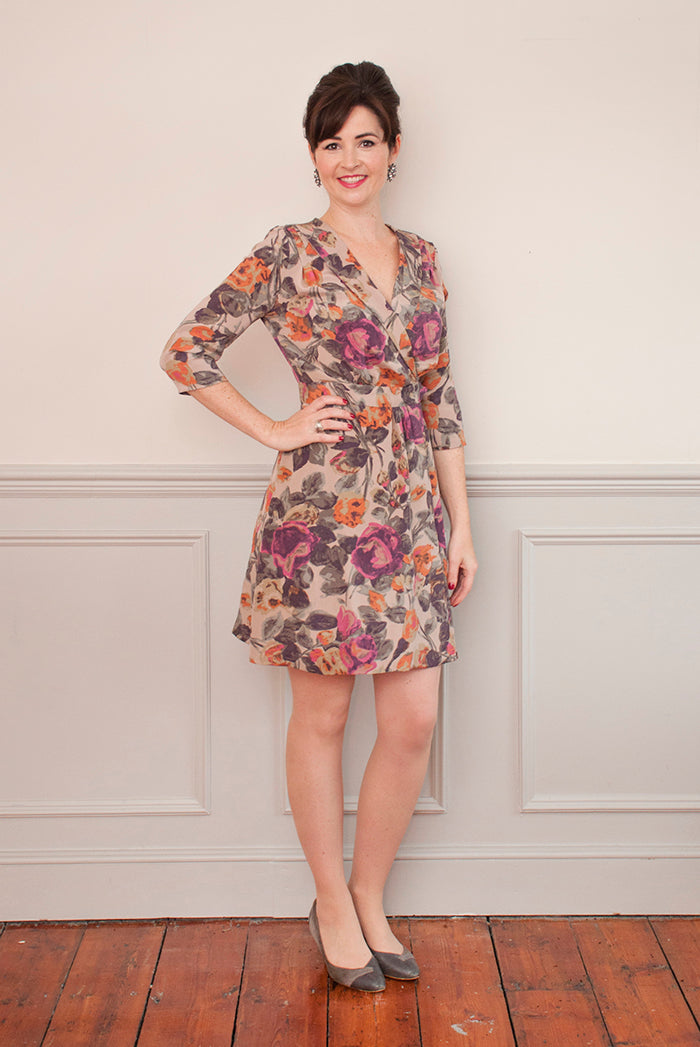
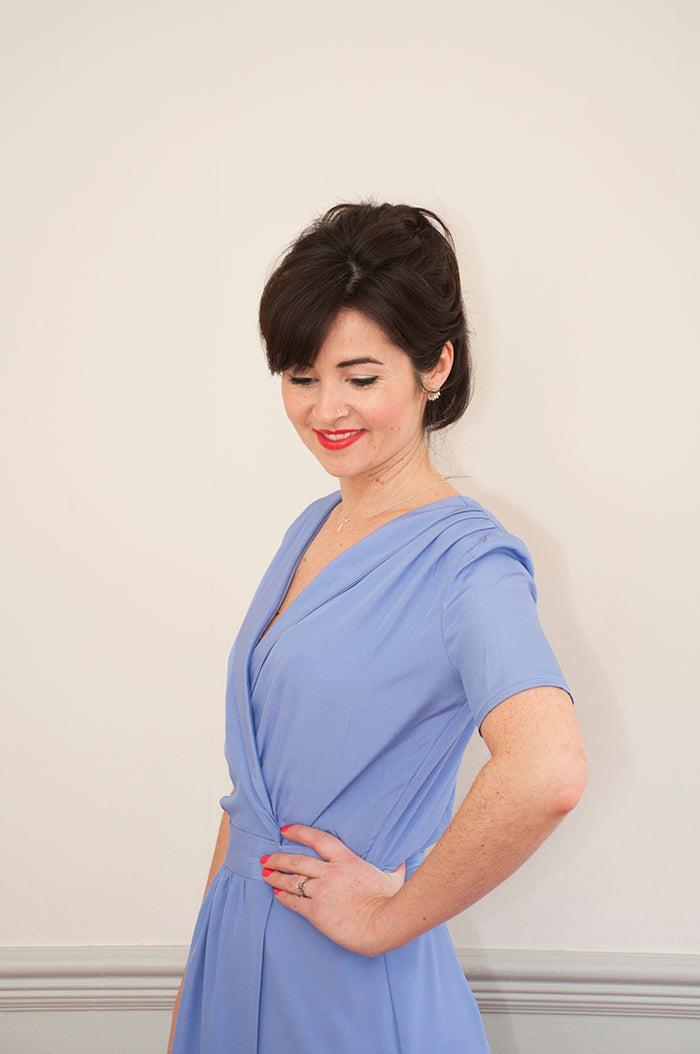
A true day-to-night dress, the 1940's Wrap can be made to suit all occasions depending on your fabric choice. Choose a classic plain crepe for a lovely office outfit, or jazz it up in a patterned silk for the evening. Lisa's version above was made in a silk marocain, whilst her red polka dot and lilac versions are sewn in opaque polyester crepes.
Most light to medium weight woven fabrics with some drape will be lovely for the 1940's Wrap Dress. Anything from rayon challis, polyester crepes, peachskin and tencel/cupro, to silk marocain, noil, sandwashed silk and crepe de chine would work like a charm. For a warmer winter dress, a lightweight wool crepe would deliciously cosy, whilst a georgette or chiffon will make a stunning evening dress. (Remember if you're using something sheer you'll need to think about wearing a slip.) Less confident sewers might like to start out with a lightweight cotton lawn or voile.
Make sure to choose a woven fabric for this pattern, rather than a knit.
How much fabric will I need?

Check the size chart on the back of the pattern to work out how much fabric you’ll need. Referring to the finished garment measurements will allow you to see how much ease is built into the pattern, and you can use this together with the body measurements to work out your size depending on your fit preference.
If you're using fabric with a larger print you might like to buy extra so you can match the pattern at the seams.

Prepping your fabric
Once you have chosen your fabric, don't forget to wash it as one long length to pre-shrink it before use. We know we sound like a broken record, but we always recommend washing the uncut fabric length before using it. This is so that any shrinkage that naturally occurs when a fabric is washed for the first time will occur before your dress is sewn up. After putting so much love into sewing your dress the last thing you want to do is shrink it after the first wash. You need to prewash the fabric in the same way you intend to wash your finished dress, whether it be machine wash, hand wash or dry clean.
And that’s it for now!