What size am I?
When working out what size you need to cut, you'll need two different measurements: bust and waist.
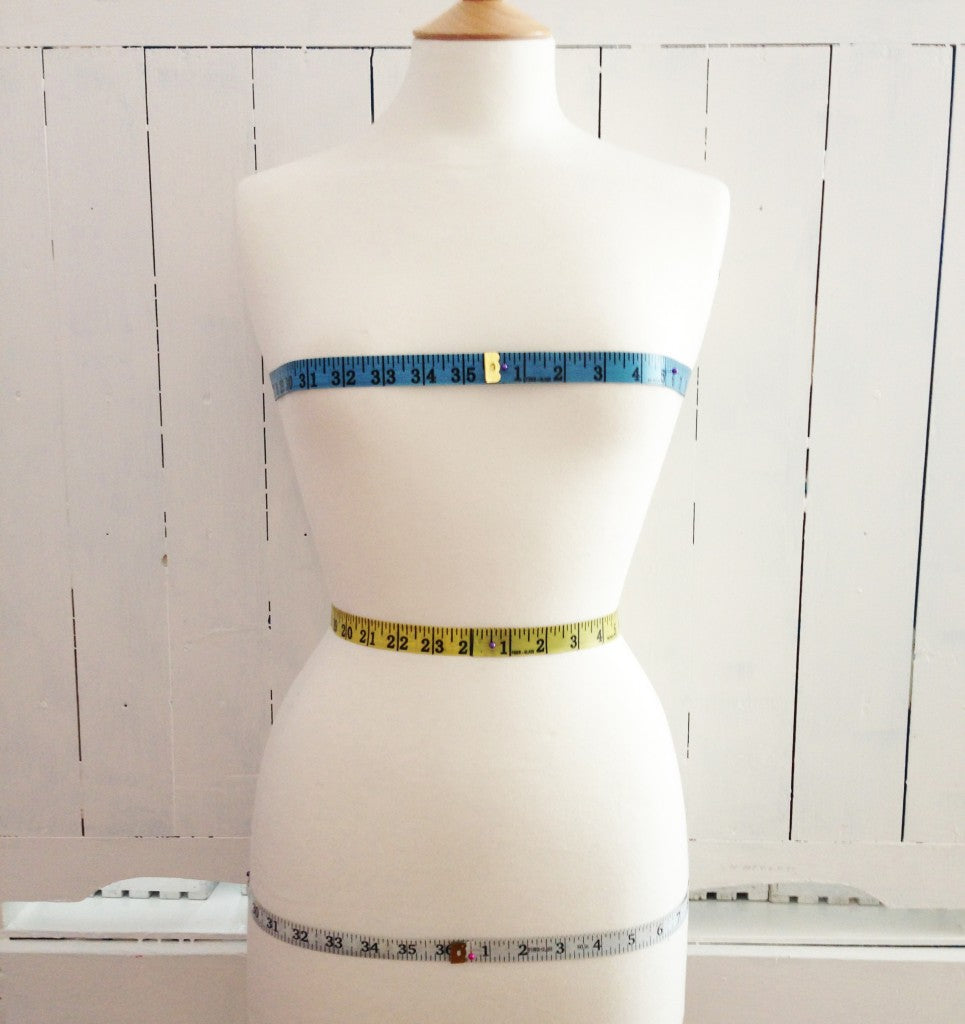
Bust: hold the tape measure around the fullest part of your bust – usually this is around the nipples. Make sure the tape measure is horizontal all the way around your back. If it dips down or is up too high your measurement will be wrong and you could end up cutting a bigger size than you need to. We recommend standing next to a mirror so you can check.
Waist: usually the smallest part of your torso, and the point from which you can bend sideways. Hold the tape measure around yourself, have a little wiggle, and it should find its way into the right spot. Remember, no breathing in!
Write these measurements down as you go, and once you've got them both you can consult the sizing chart to work out your size.

If you are between sizes, you can blend between the two. So for example, say your measurements are 37" bust (size 14) but 28" waist (size 10). On the pattern, start at the 14 line at the bust and draw a gently sloping diagonal line down to the size 10 line at the waist. Follow the size 10 down to the hem.
If you've got large hips in relation to the rest of your body, you might like to blend out a couple of sizes from the waist point to the hem. Remember, it is much easier to take in seams than it is to let them out!
Assembling Your Pattern
New to PDF patterns? Fear not, we have written a guide on printing, cutting and assembling your pattern, which you can find here.
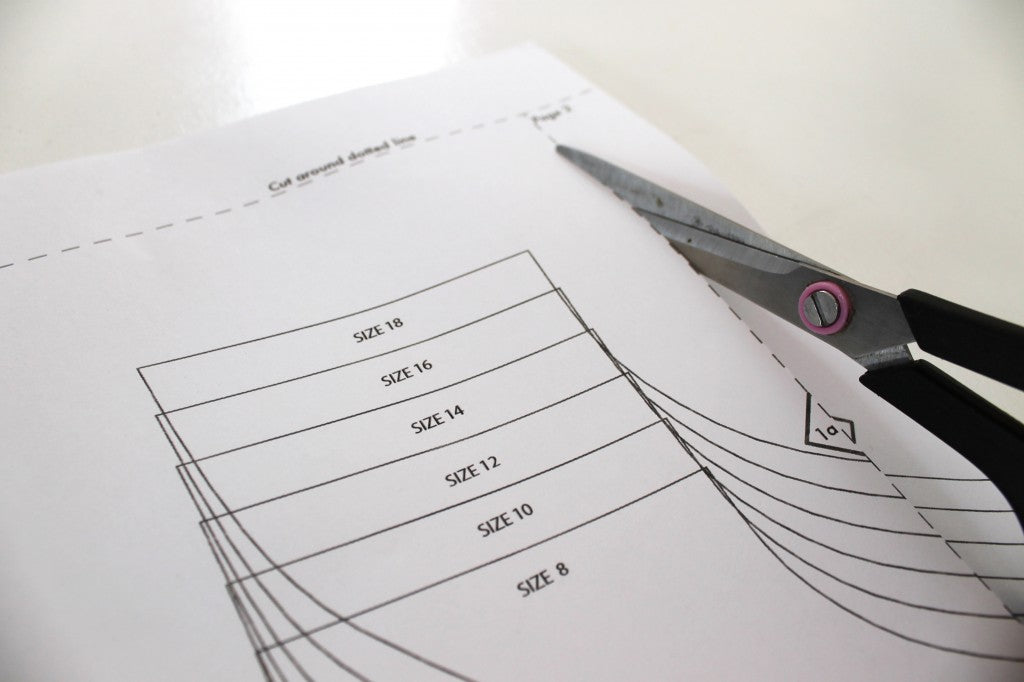
Once you have stuck your pattern together you can either cut it out as it is, or you may prefer to trace it off onto dotted pattern paper to make it less bulky and easier to store. Don't forget to redraw the grainline and properly label the pattern pieces.
Cutting Your Fabric
Fabrics come in a variety of widths, the most common being 115cm wide (45") or 140cm wide (60"). This chart below shows how much you will need depending on your size and the width of the fabric.

Once you've worked out how much you need, fold your fabric right sides together, selvedge to selvedge.
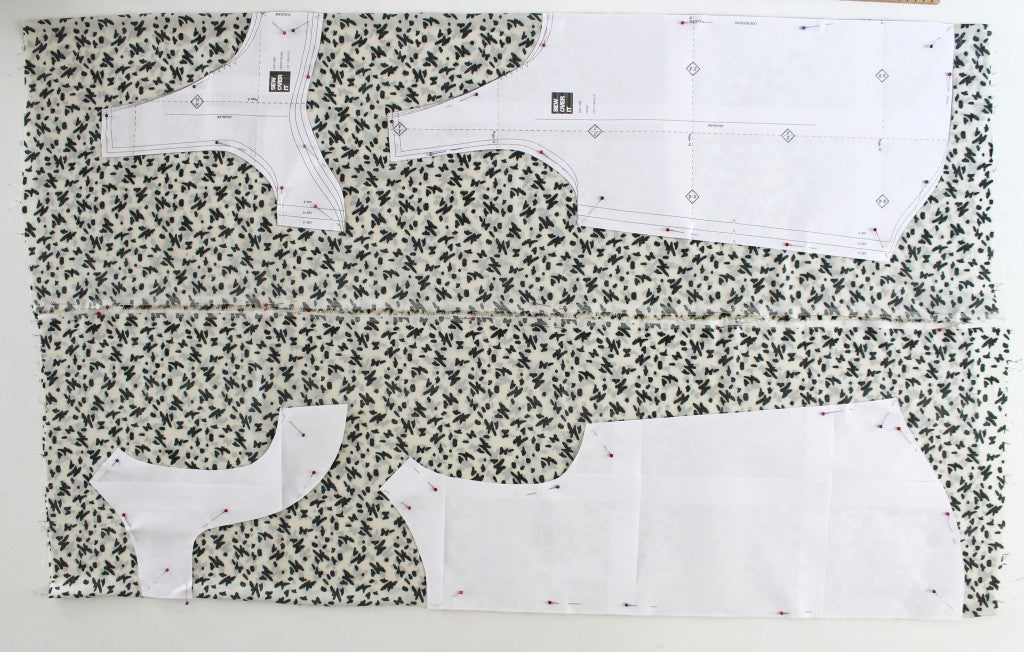
Following the layplans in the instruction booklet, lay your patterns out on your fabric. If you are using a directional print you may need to place half of the pattern onto the fabric upside down, as we have done above.
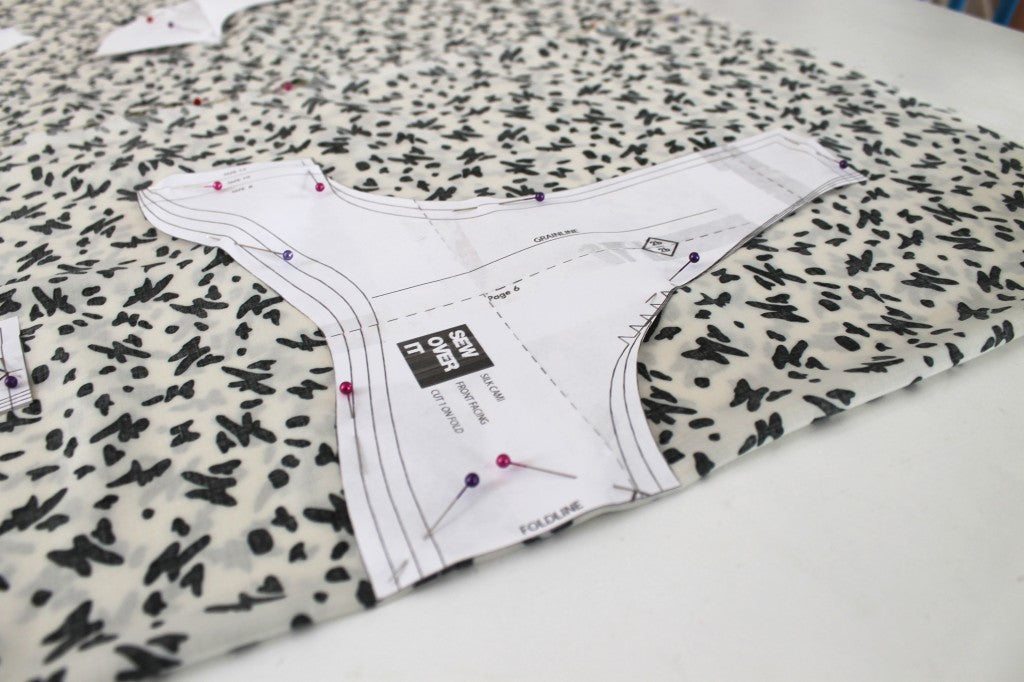
Pin everything down so it's nice and secure. If you're using a particularly slippery fabric you might want to use more pins than you usually would.
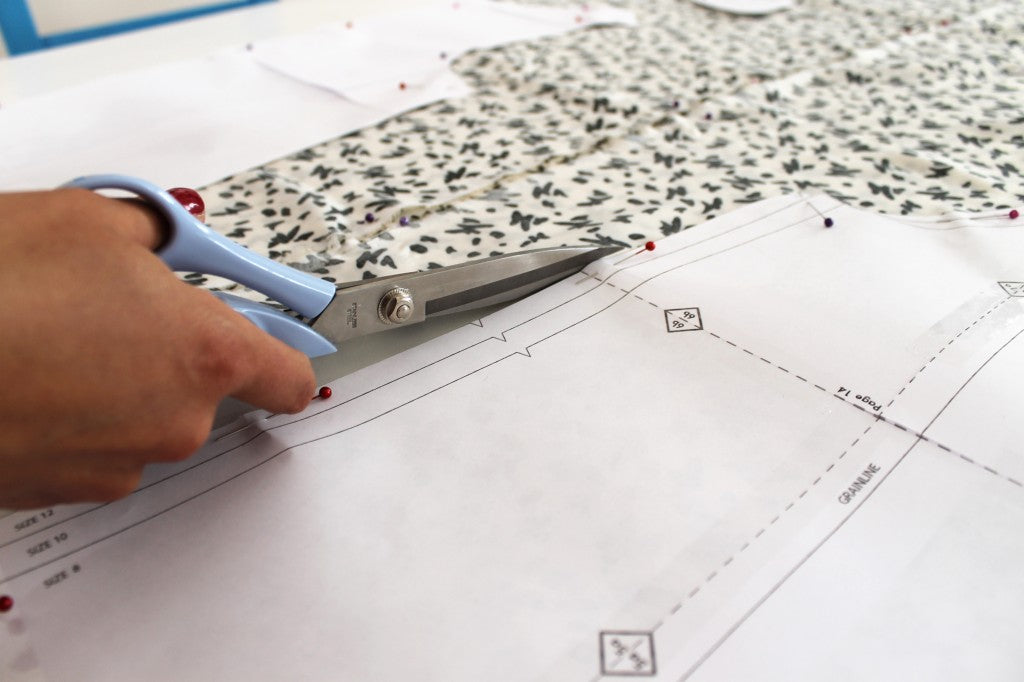
All that's left to do now is to snip away! Remember, long confident snips are best, and keep that bottom blade of the scissors touching the table at all times.

Once you've cut all the pieces out, snip any notches and then we're done until the next sewalong, when we'll be French seaming the life out of our camis!