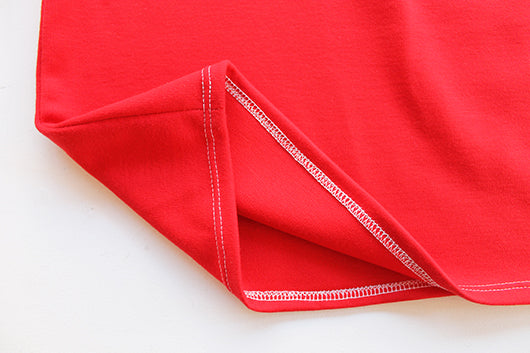
The Cowl Neck Dress is really simple so you'll have it finished before you know it. We think it's a great introduction to the world of jersey and knit fabrics, and although it is simple it's really effective. Just that little bit more interesting than making a t-shirt isn't it?
Let's get started...
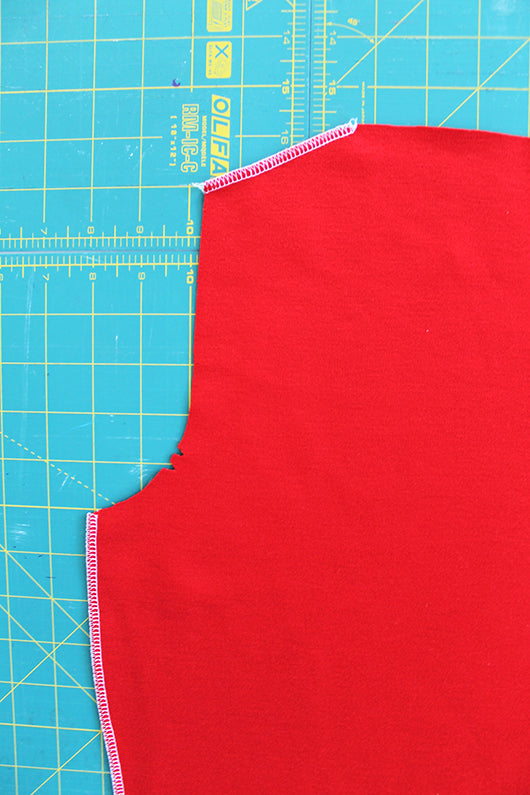
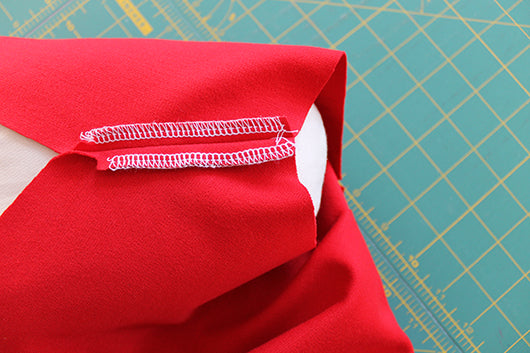
On both front and back dress pieces, finish the shoulder seams and side seams with a zigzag stitch or overlocker. Strictly speaking you don't actually need to finish the raw edges when using jersey at all, because they won't fray. But we like to as we think it adds that professional finish.
If you're using an overlocker, here we are using a four thread stitch, which creates a nice durable seam finish. In fact apart from hemming, most jersey garments can be sewn up using only an overlocker, and for strong seams a four thread stitch (rather than two or three threads) is the best option.
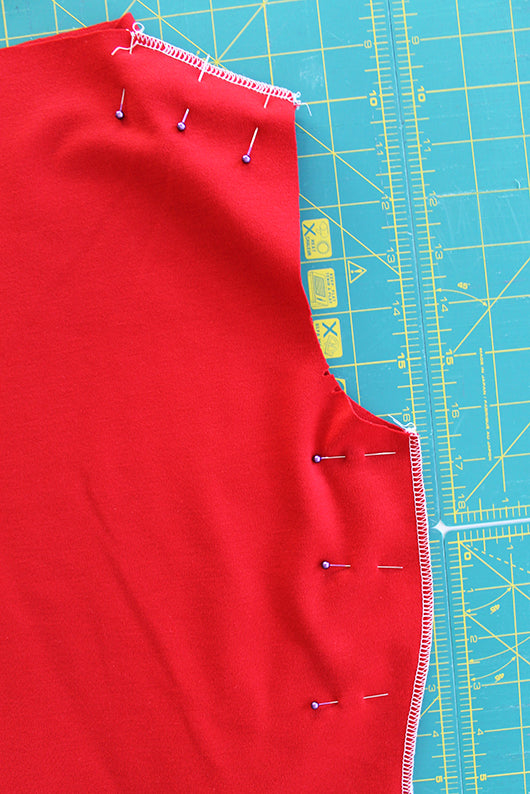
With right sides together, pin the front and back pieces together at the shoulder seams, matching the notches. Stitch with a 1cm seam allowance.
Do the same for the side seams.
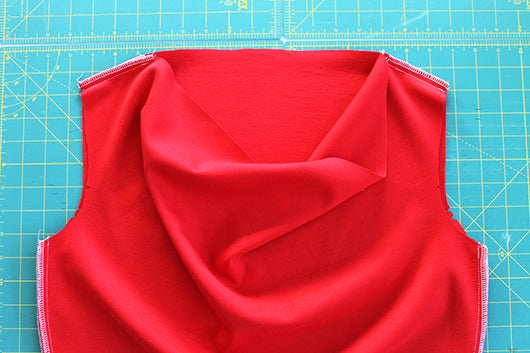
You should now have something that looks like this. Look at that cowly goodness. Your dress is starting to take shape!
Press all your seams open using a nice hot iron.
Finish the underarm seams of both sleeves with an overlock or zigzag stitch.
With right sides together, fold the sleeve in half lengthways and pin the underarm seams. Stitch with a 1cm seam allowance and press the seam allowance open.
Repeat for the other sleeve.
Finish the hem of both sleeves with an overlock or zigzag stitch.
Fold the hem of the sleeve over by 1cm and press it flat. Using the 1 cm seam allowance guide on your machine, topstitch the hem in place. You can do this with a regular zigzag stitch and a normal ballpoint needle, or if you want a particularly professional-looking finish, why not try using a twin needle like we have?
On the right side of the fabric it gives you two need lines of stitching, whilst on the wrong side a zigzag stitch. Using a twin needle is a great option for jersey and other knit fabrics, because the stitches stretch, meaning that you'll never snap your stitching by stretching the fabric.
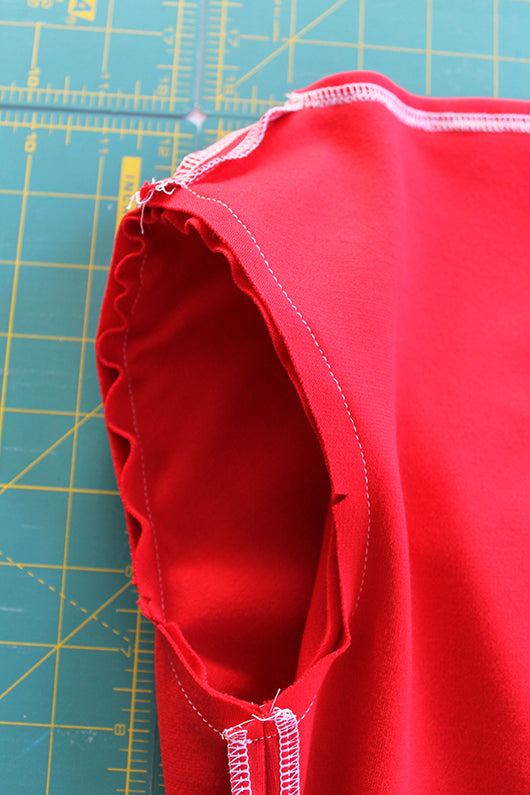
Now it's time to insert the sleeve. With woven fabric this can be a bit tricky, but as you're using jersey, inserting the sleeve is super easy, and you can just stretch it slightly as you need.
With the sleeve the right way out and the dress inside out, insert the sleeve into the armhole, matching the underarm seam on the sleeve with the side seam of the bodice. Match the notch at the sleeve head with the shoulder seam on the dress. Match the single and double notches. Pin the rest of the sleeve head in place and sew the sleeve into the armhole using a 1cm seam allowance. Repeat for the other sleeve.
Overlock or zigzag the seam allowance together.
We're nearly there!
Finish the neckline with an overlock or zigzag stitch.
Fold over the edge of the neckline by 1cm and press to form a hem.
Using the 1cm seam allowance guide on your machine, topstitch the hem place. Look at that twin needle action! Remember the right side of the fabric needs to be face up if you're using a twin needle - you don't want the zigzags on the outside of the dress!
Just one more step!
Overlock or zigzag them hem of the dress.
Fold over the edge of them hem by 1cm and press, and as we did before, topstitch the hem in place. Look how profesh it looks!
Aaaand would you believe it... you've finished! We demand you put your dress on immediately and dance around your sewing area with delight.
Don't forget to send us pictures of your finished Cowl Neck Dresses on Instagram and Twitter, we'd love to see! Enter your creation into our #SOIshowoff competition and you could win 2m of fabric of your choice!


