
The Ultimate Shift Dress is one of our simplest patterns but we thought it might be nice to do a couple of sewalong tutorials on how to attach the neck flounce and the sleeve frills. We're also going to be doing some bonus tutorials not featured in the pattern instructions - we're going to be binding armholes and making a rouleau loop for the back closure.
This week we're getting stuck in with the neck flounce. I'm not sure if it's possible, but here at Sew Over It we've been feeling a bit dressed-out, so we're making the top versions of the Shift Dress for these tutorials. The neck flounce is nice and summery, as is this lovely floral fabric we're using from our shop. The perfect top for a day of lazing around on the common, ice cream in hand.

We're not going to go through the whole construction of the top in photos, you can find all these instructions in the booklet. But just a quick run through, you need to have sewn:
- the bust darts
- the centre back seam
- the side seams
- the shoulder seams
- stitching around the back opening
Don't worry about facings just yet - we'll go through that later on.
Now, before we begin, a quick note about seam allowances. We're going to do things a little differently from the instructions. We found some people were having trouble easing in the flounce and facing, so we're reducing the seam allowance to make this easier.
So, let's get going.
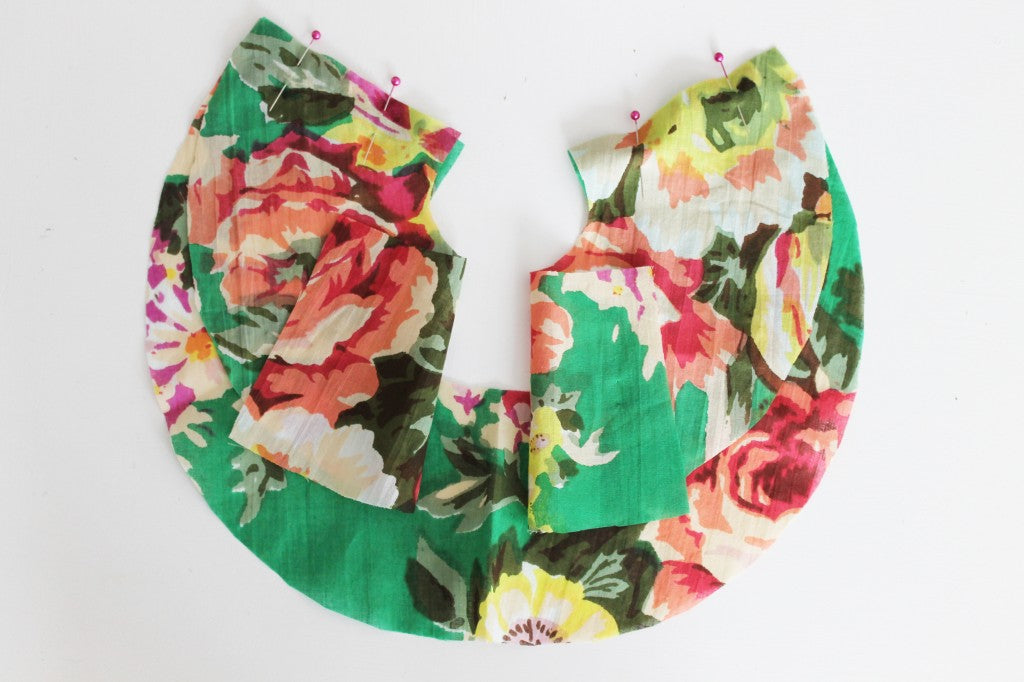
Using a 1cm seam allowance, sew the side seams together on the flounce.

Finish the seam allowance.
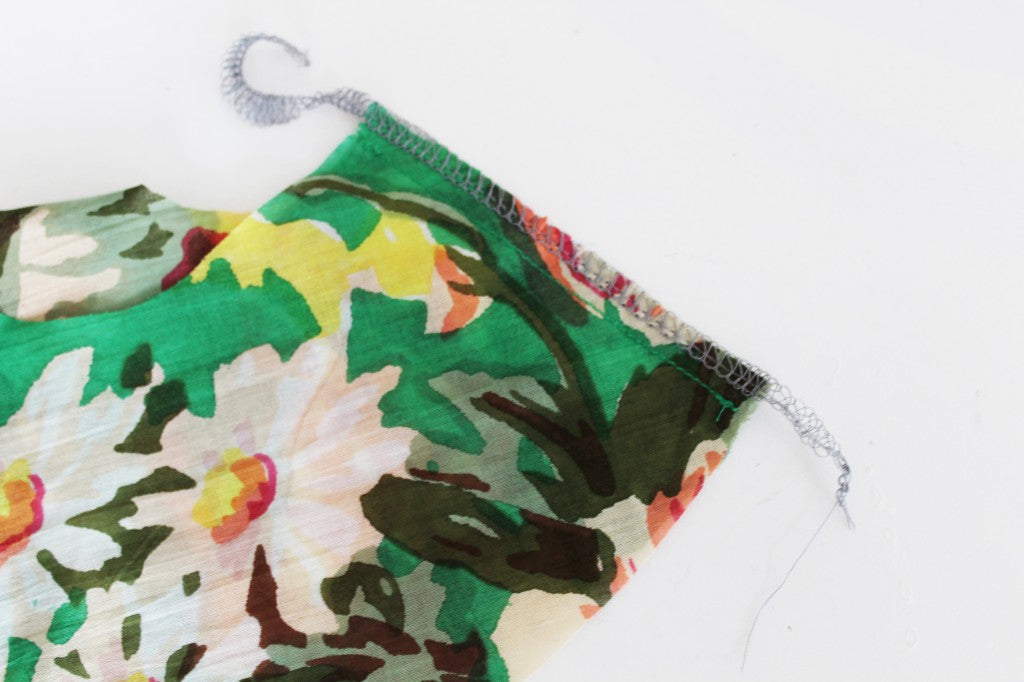
If you're using an overlocker be careful here - the seam allowance is smaller than usual so make sure you don't cut into the line of stitching with the blade.

Starting at the centre back, finish the whole outer edge of the flounce.
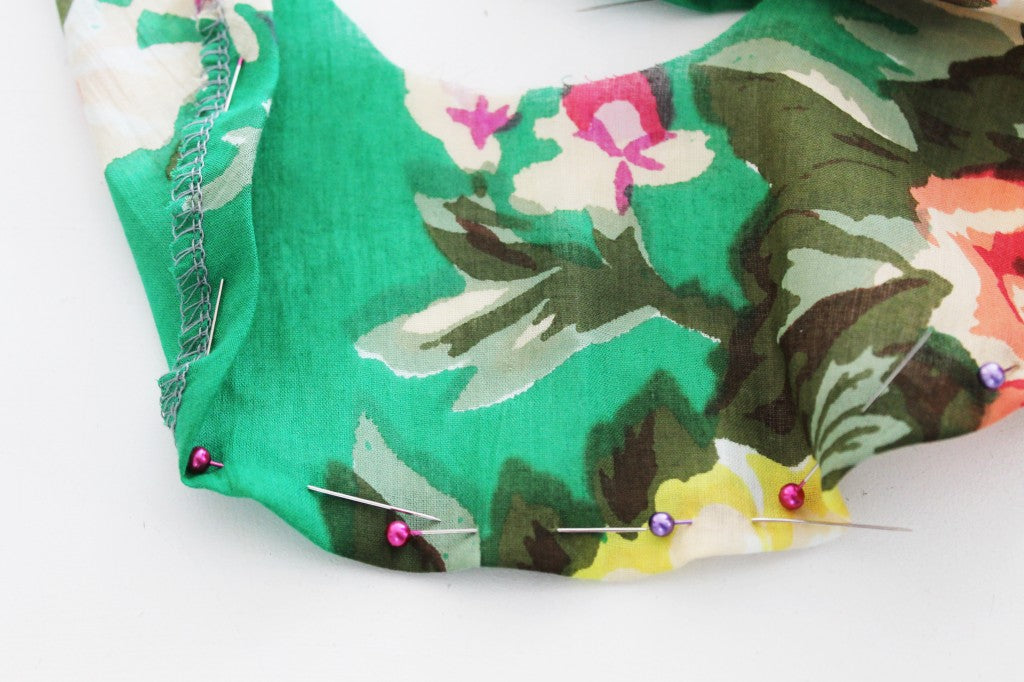
Fold this finished edge under and pin.
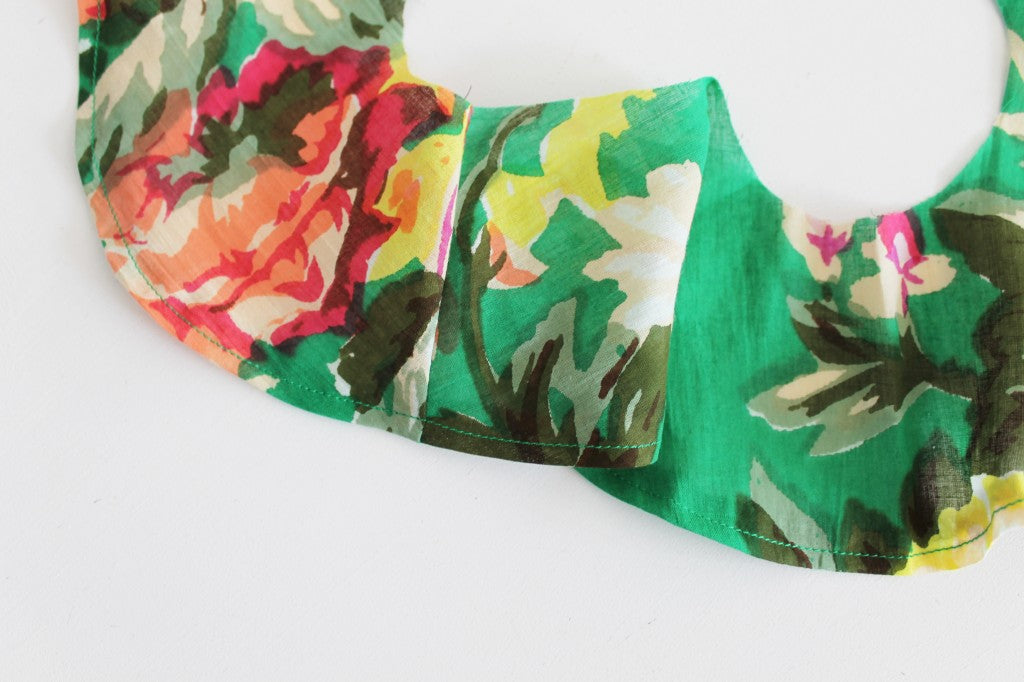
Topstitch it in place.
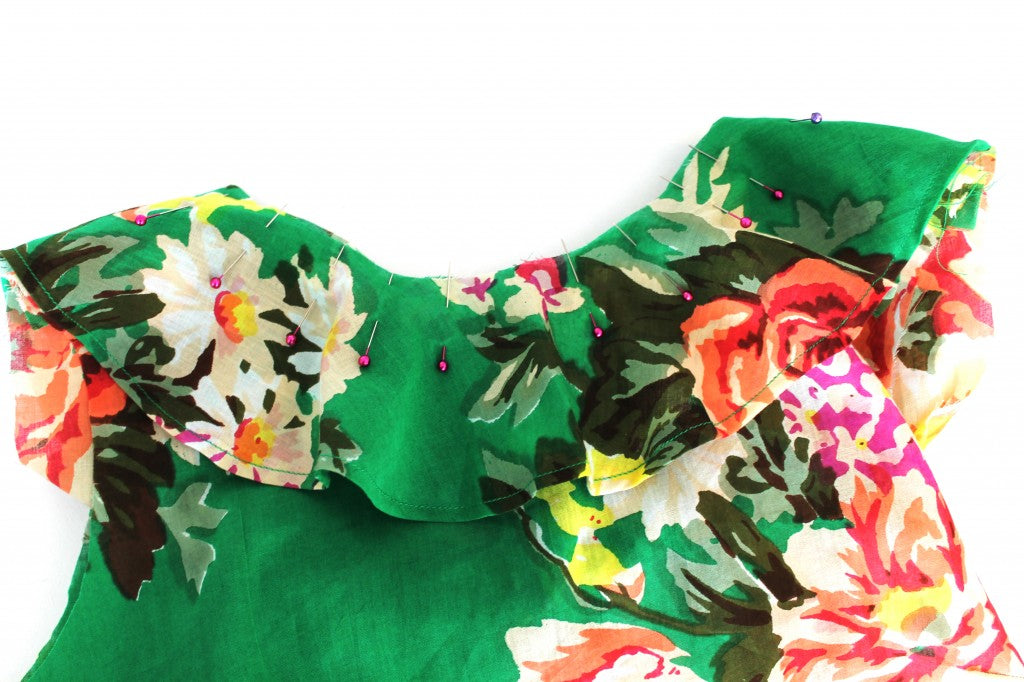
Using a 0.7cm seam allowance and a longer stitch length, tack the neck flounce to the neckline of the top.
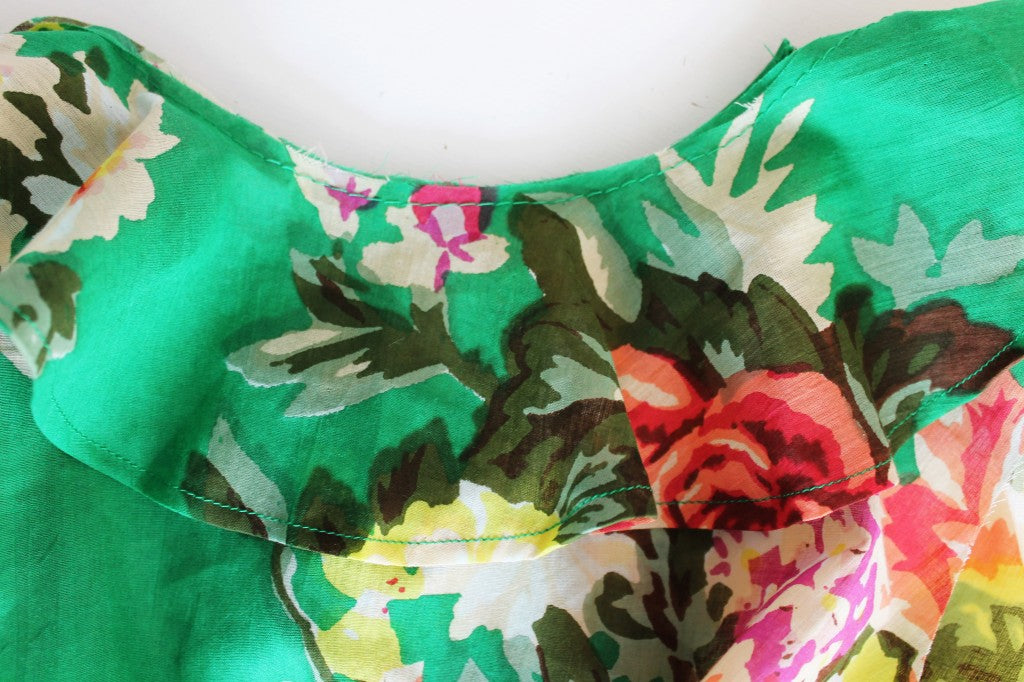
Make sure the wrong side of the flounce is facing the right side of the top.
Now let's assemble the facing. Set your stitch length back to 2.5mm and with right sides together, sew the two back facing pieces to the front piece with a 1cm seam allowance.
Like you did with the neck flounce, finish the outer edge of the facing.
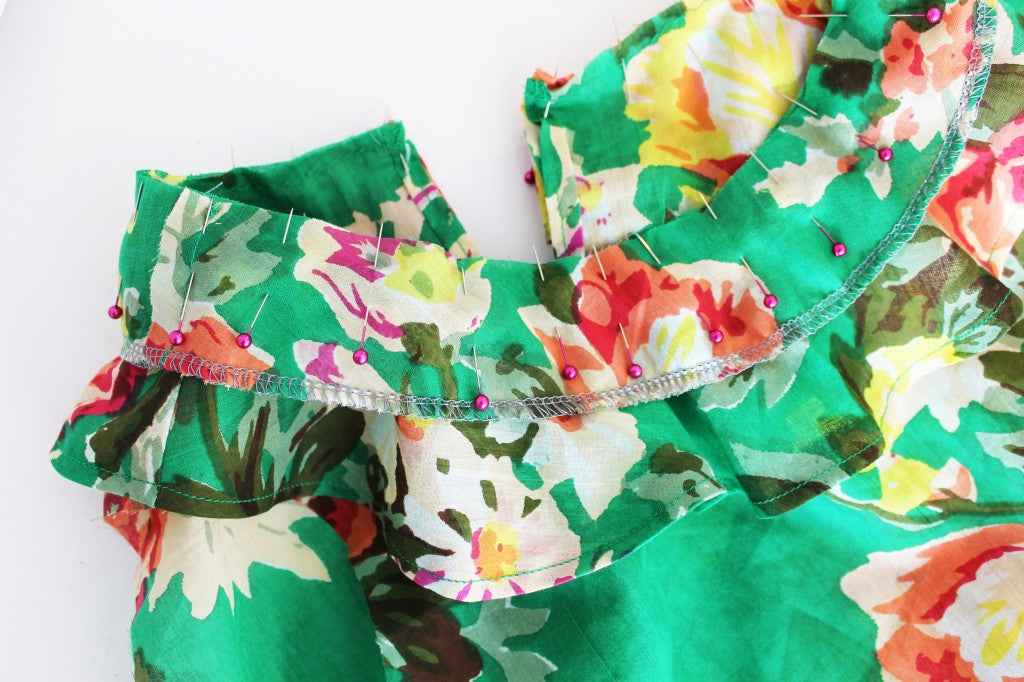
Placing the facing right sides together with the neck flounce, and starting at the centre back, sew around the neckline using a 1cm seam allowance.
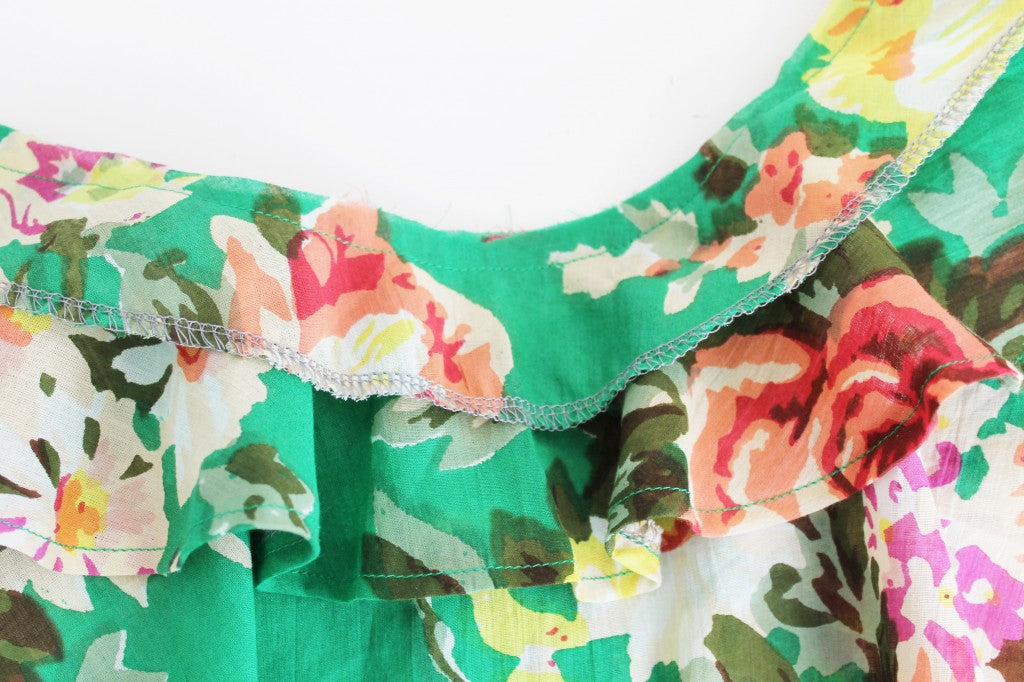
Now, to stop the facing from flipping out, we're going to understitch it in place.
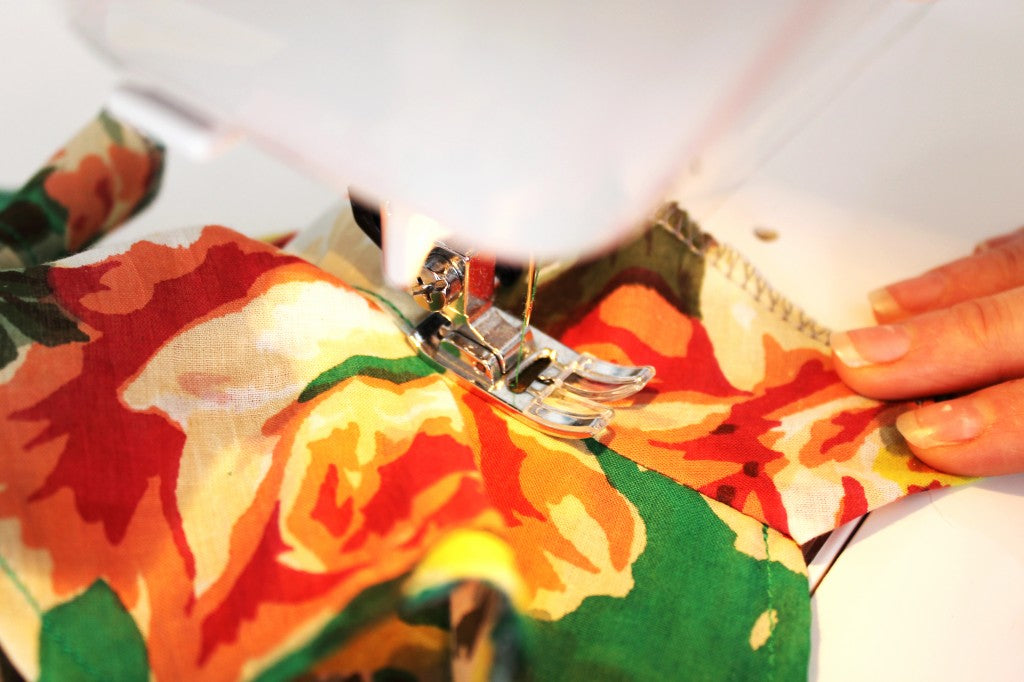
Understitching is a really useful technique which involves sewing the facing to the seam allowance underneath it. Open out the neckline so it's flat, and press the seam allowance towards the facing. Keeping it opened out and flat, edge stitch the facing to the seam allowance on the right side of the fabric, making sure the stitching is as close to the seam as possible. There should be no visible stitching on the outside, and your facing should stay on the inside where it belongs.
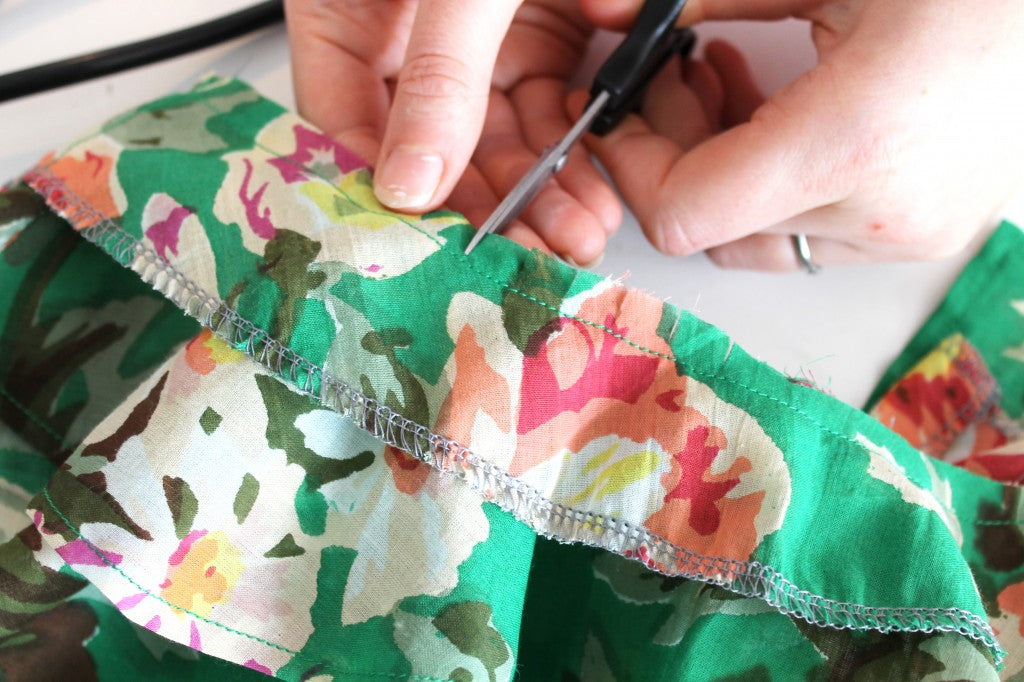
To help the neckline stay extra flat, it's a good idea to clip into at the seam allowance at the points where the neckline curves. Just snip little notches at regular intervals, being careful not to cut into the stitching.
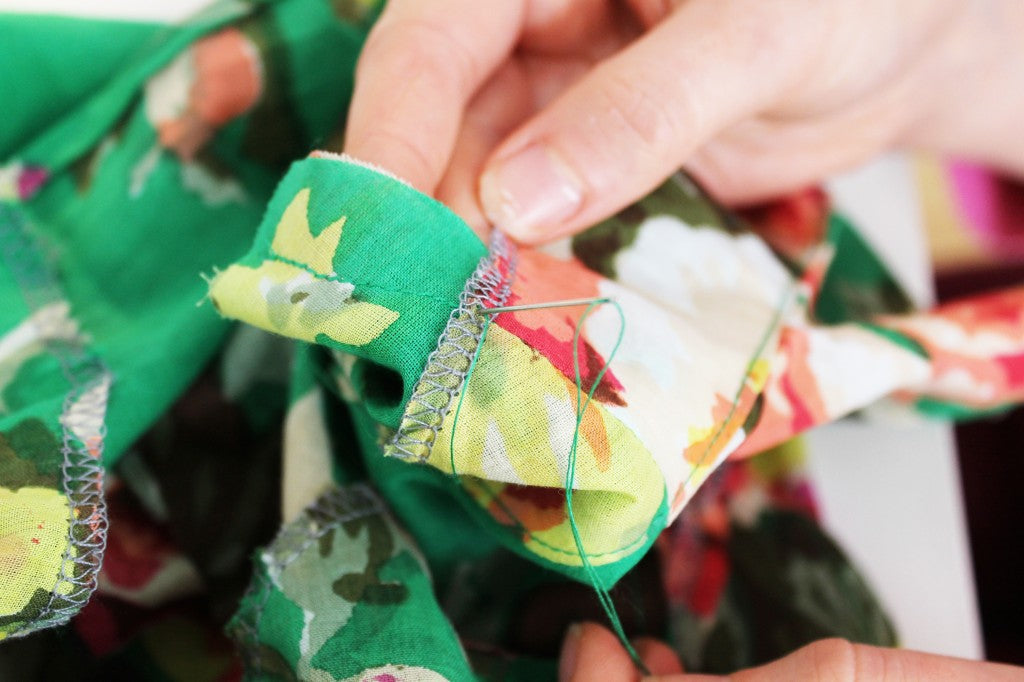
And if you want to be super sure that neckline is looking perfect, you might like to tack the facing to the seam allowance at the shoulder seams.
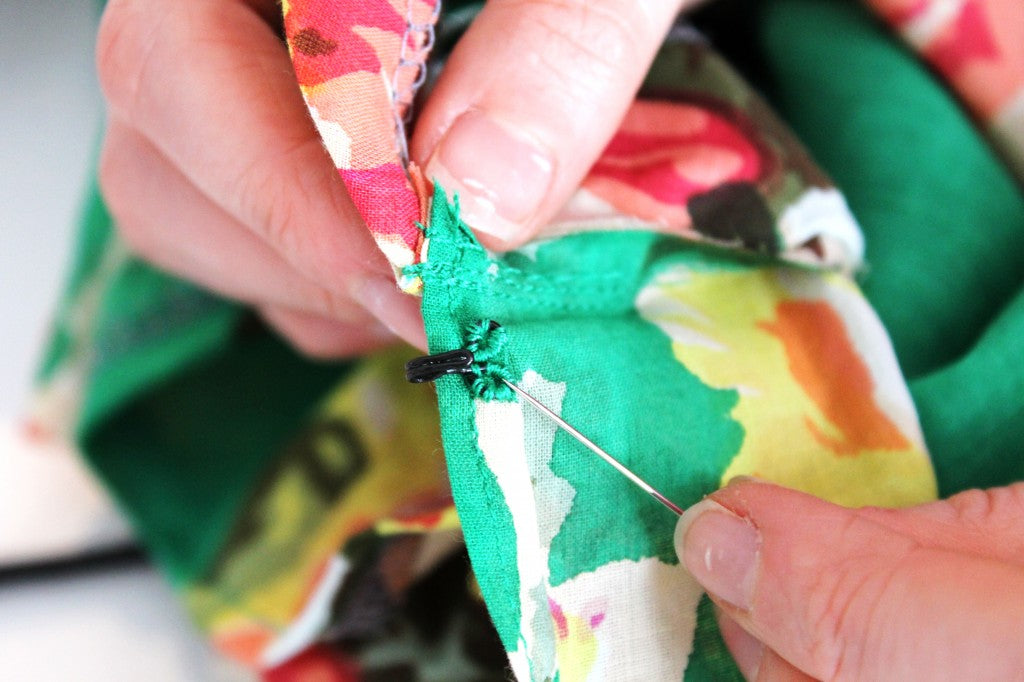
Once this is complete it's time to insert the hook and eye fastening to the top of the centre back. The pattern instructions show this attached to the outside of the facing but for a neater look, you could, as we have done, sandwich it in between the top and the facing, stitching it to the seam allowance.
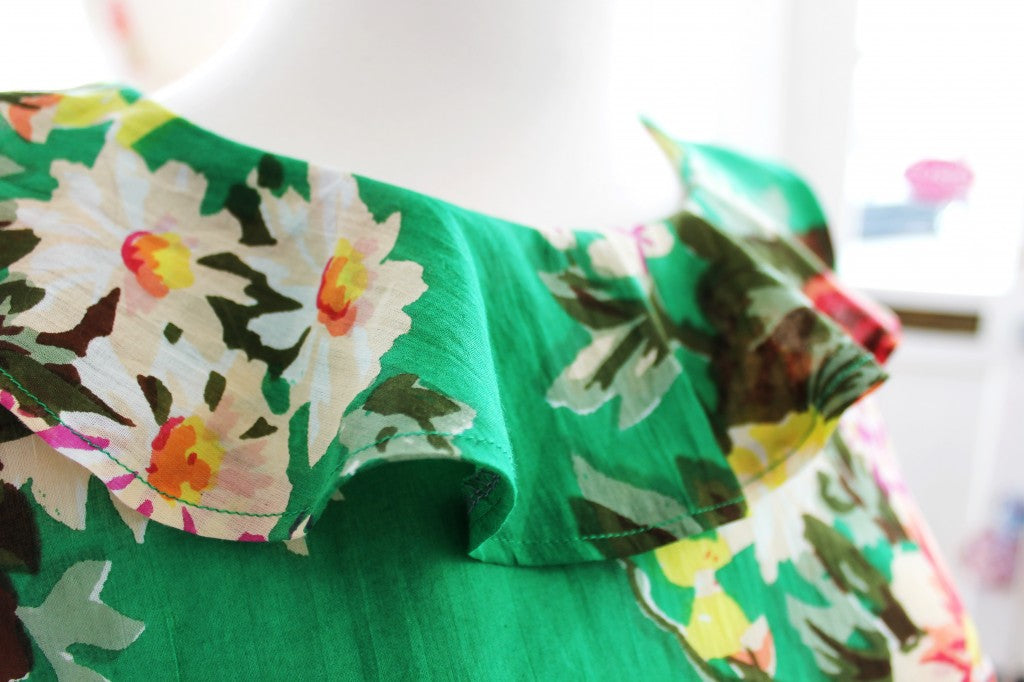
Then all you need to do is finish the armholes and hem the bottom of the top and you're done! In a few weeks we're going to show you how to bind your armholes with bias binding for a lovely neat finish.
Big thank you to our lovely Rachel for helping us with the sewing for this post!